The Wonderfully Weird: 3 Rules for Teaching Self-Portraits (Well)
For new teachers, have ALL your students draw self-portraits. For experienced teachers, have ALL your students draw self-portraits. See a trend here? Self-portraits teach us everything, and I mean everything, we need to know about teaching art and they are a good gauge of how we’re doing as art teachers.
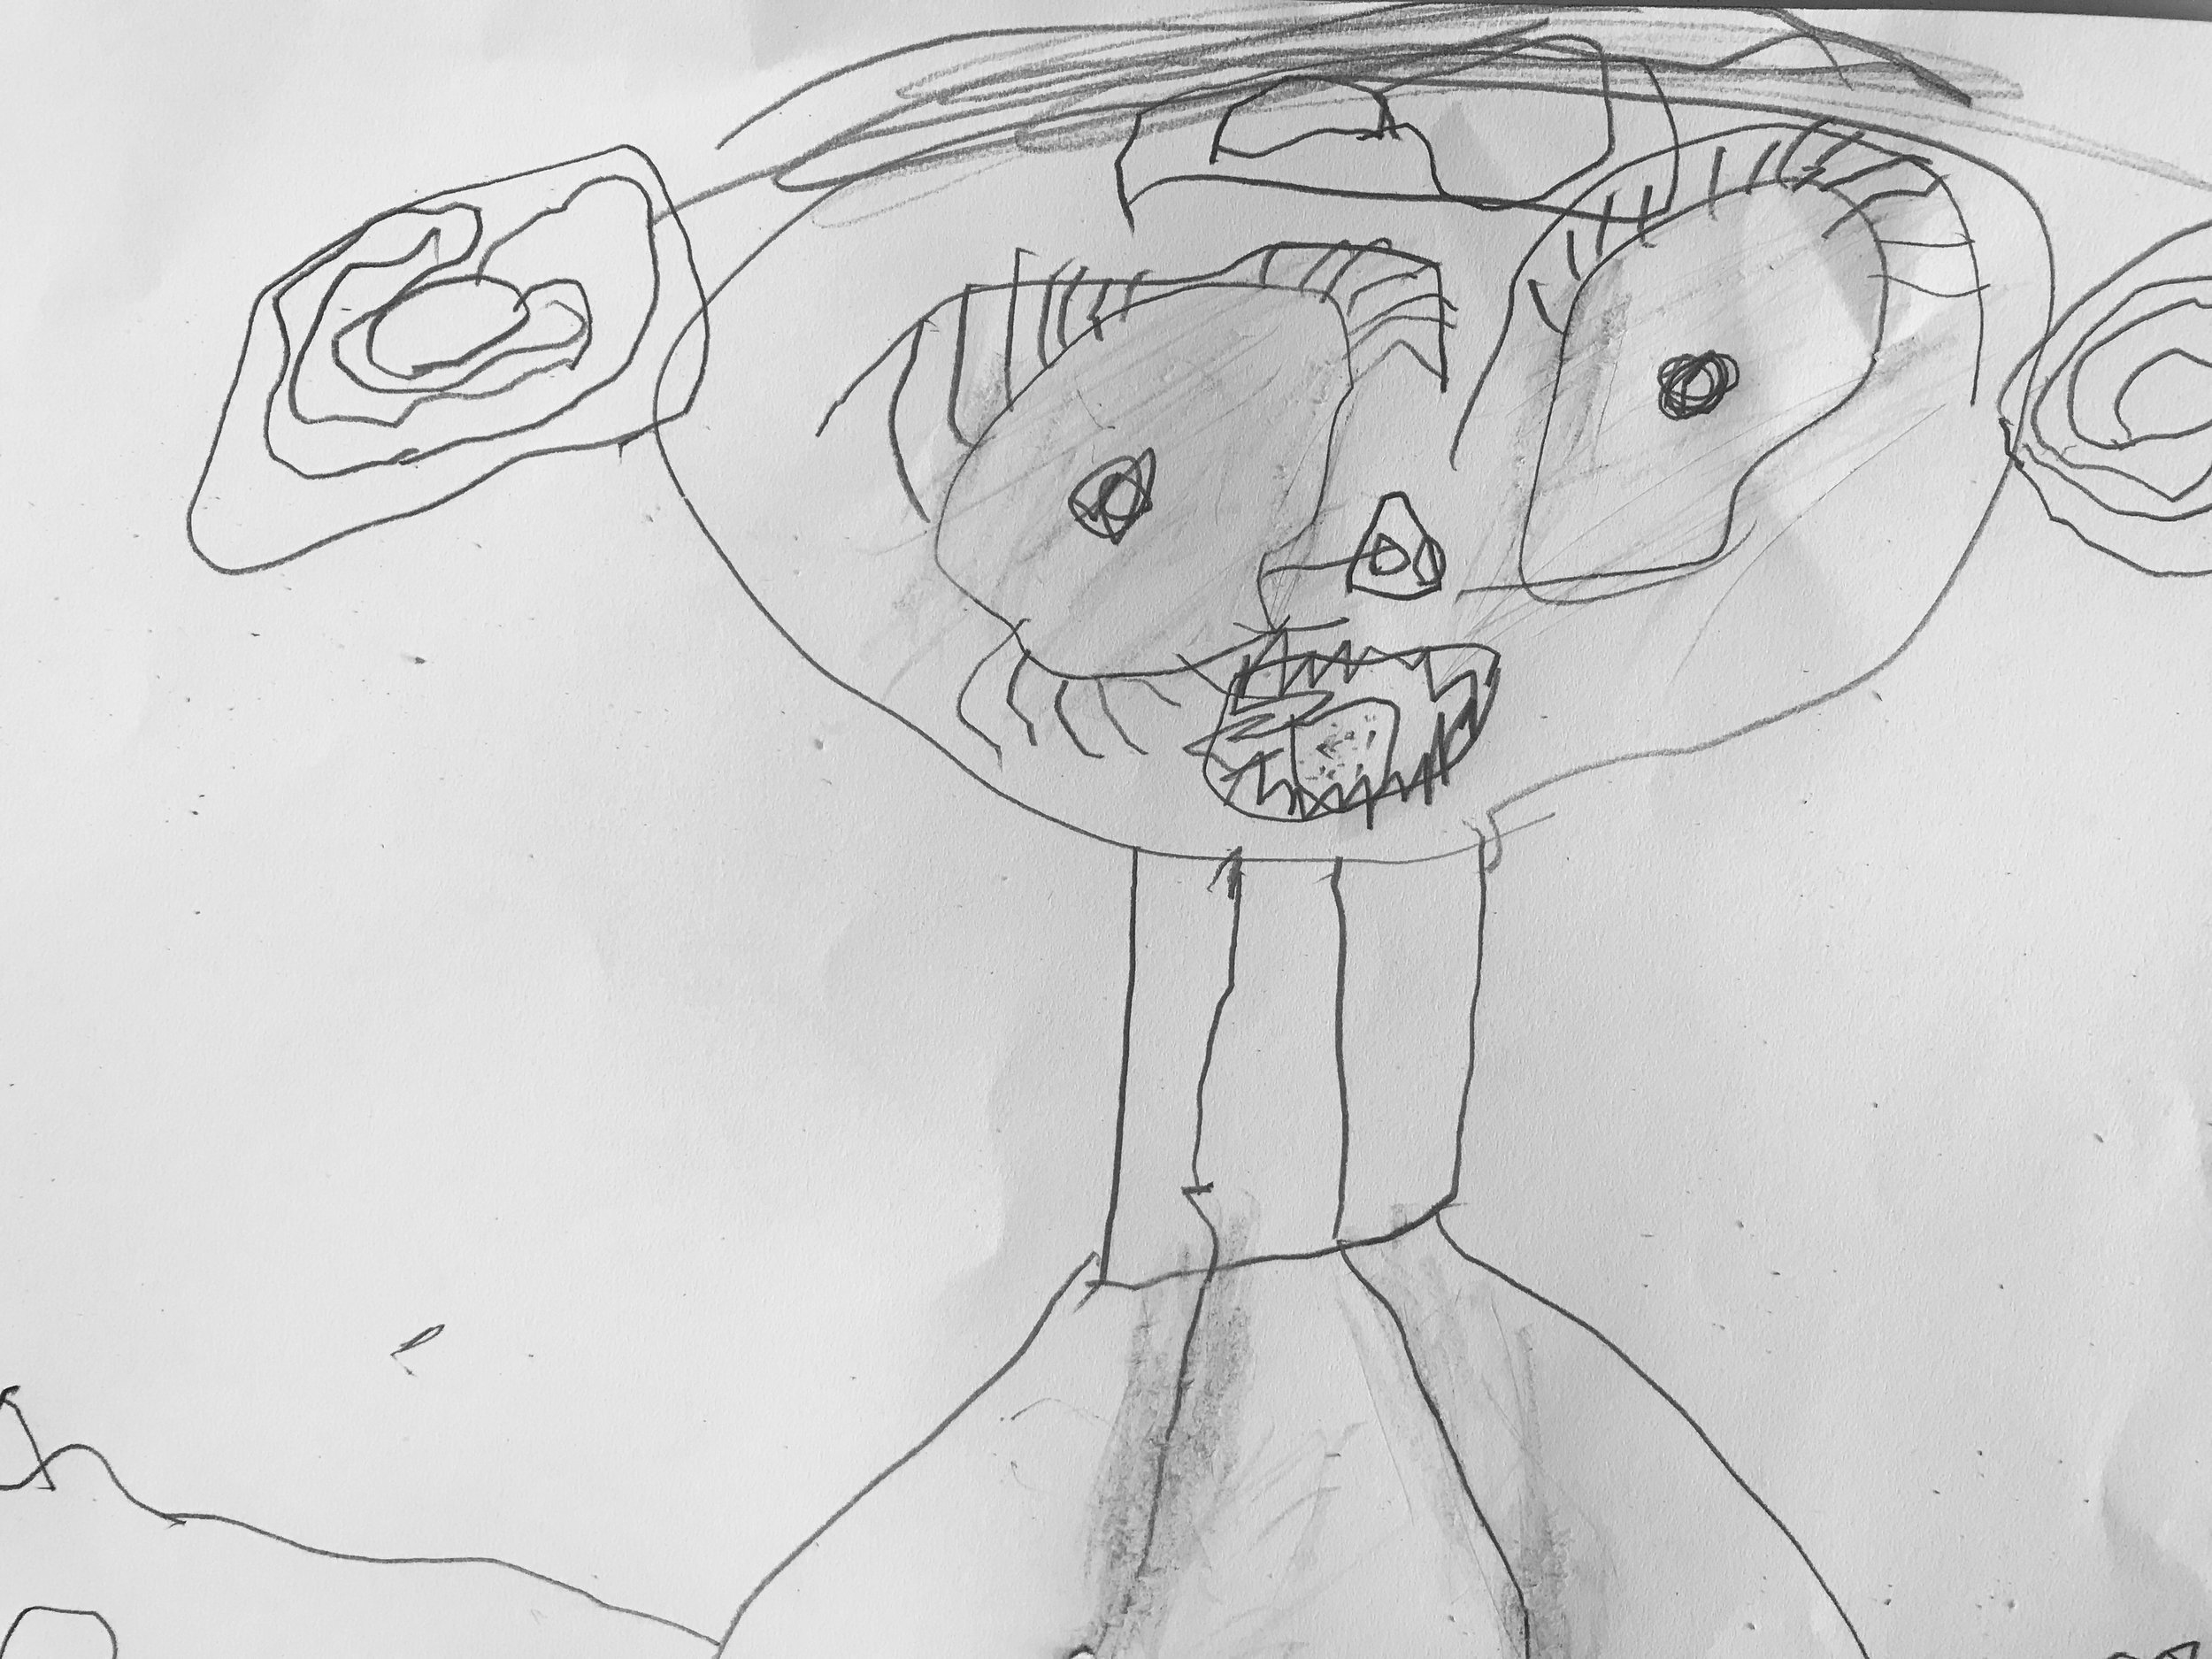
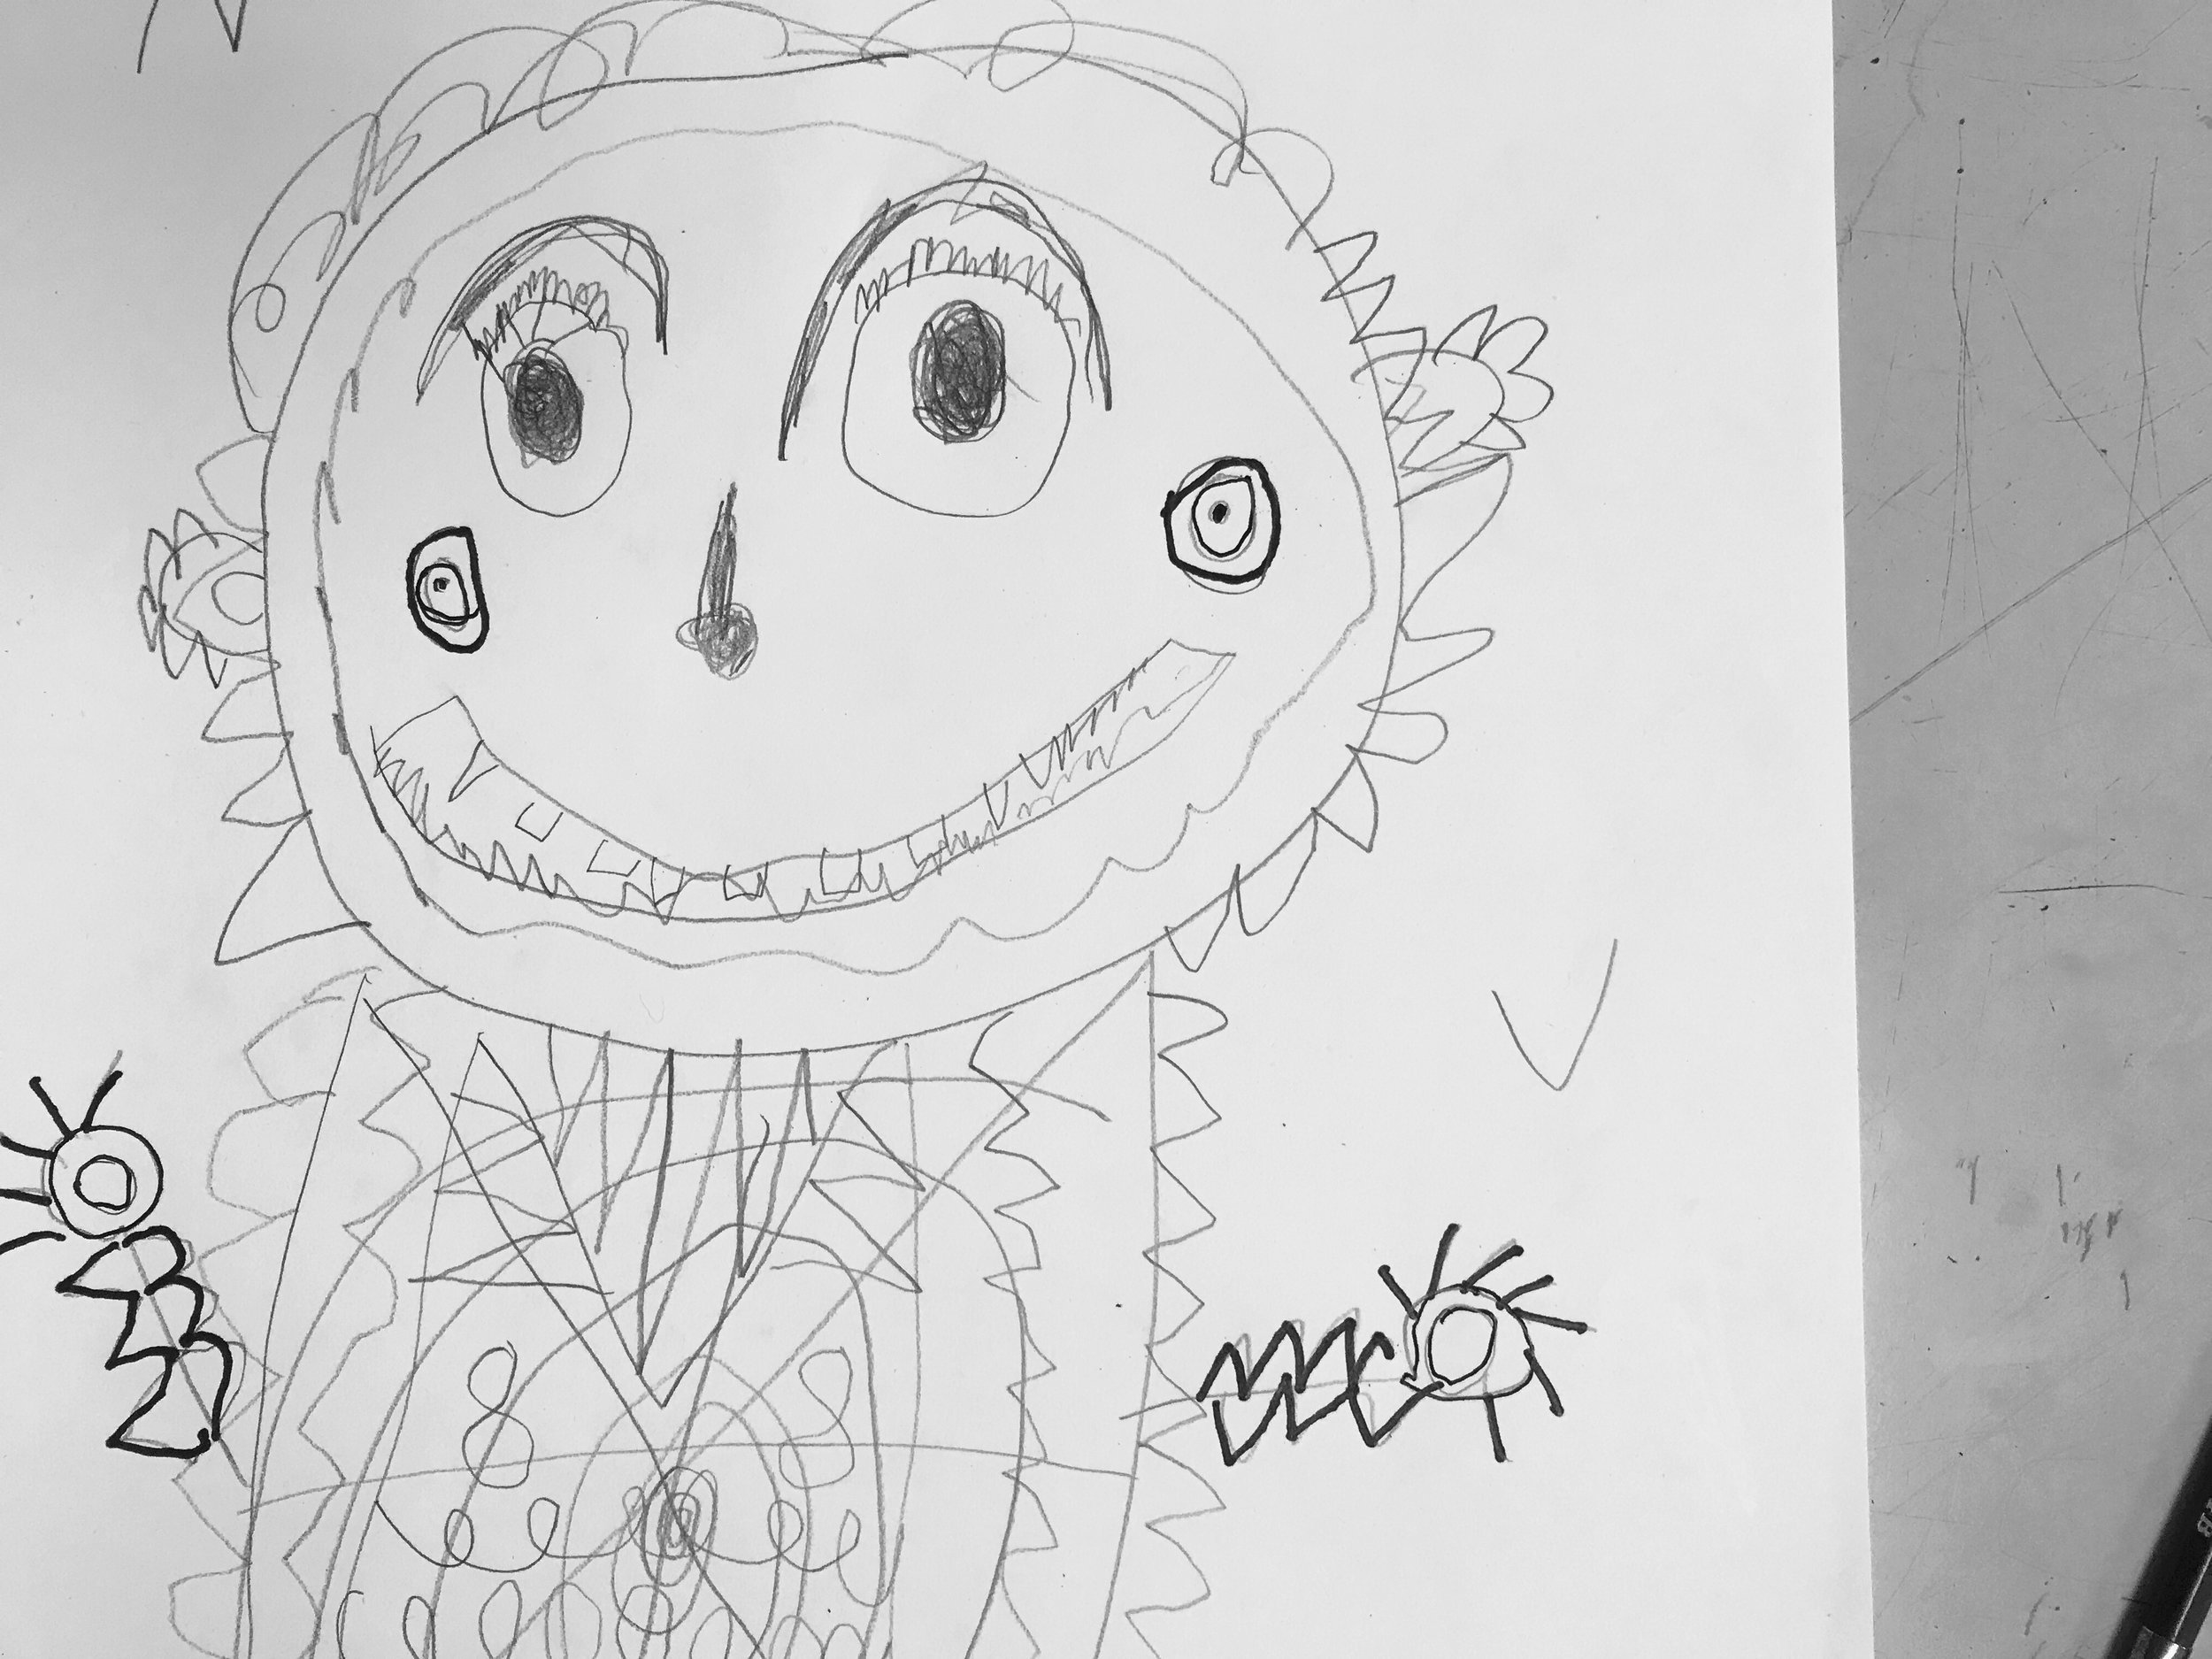
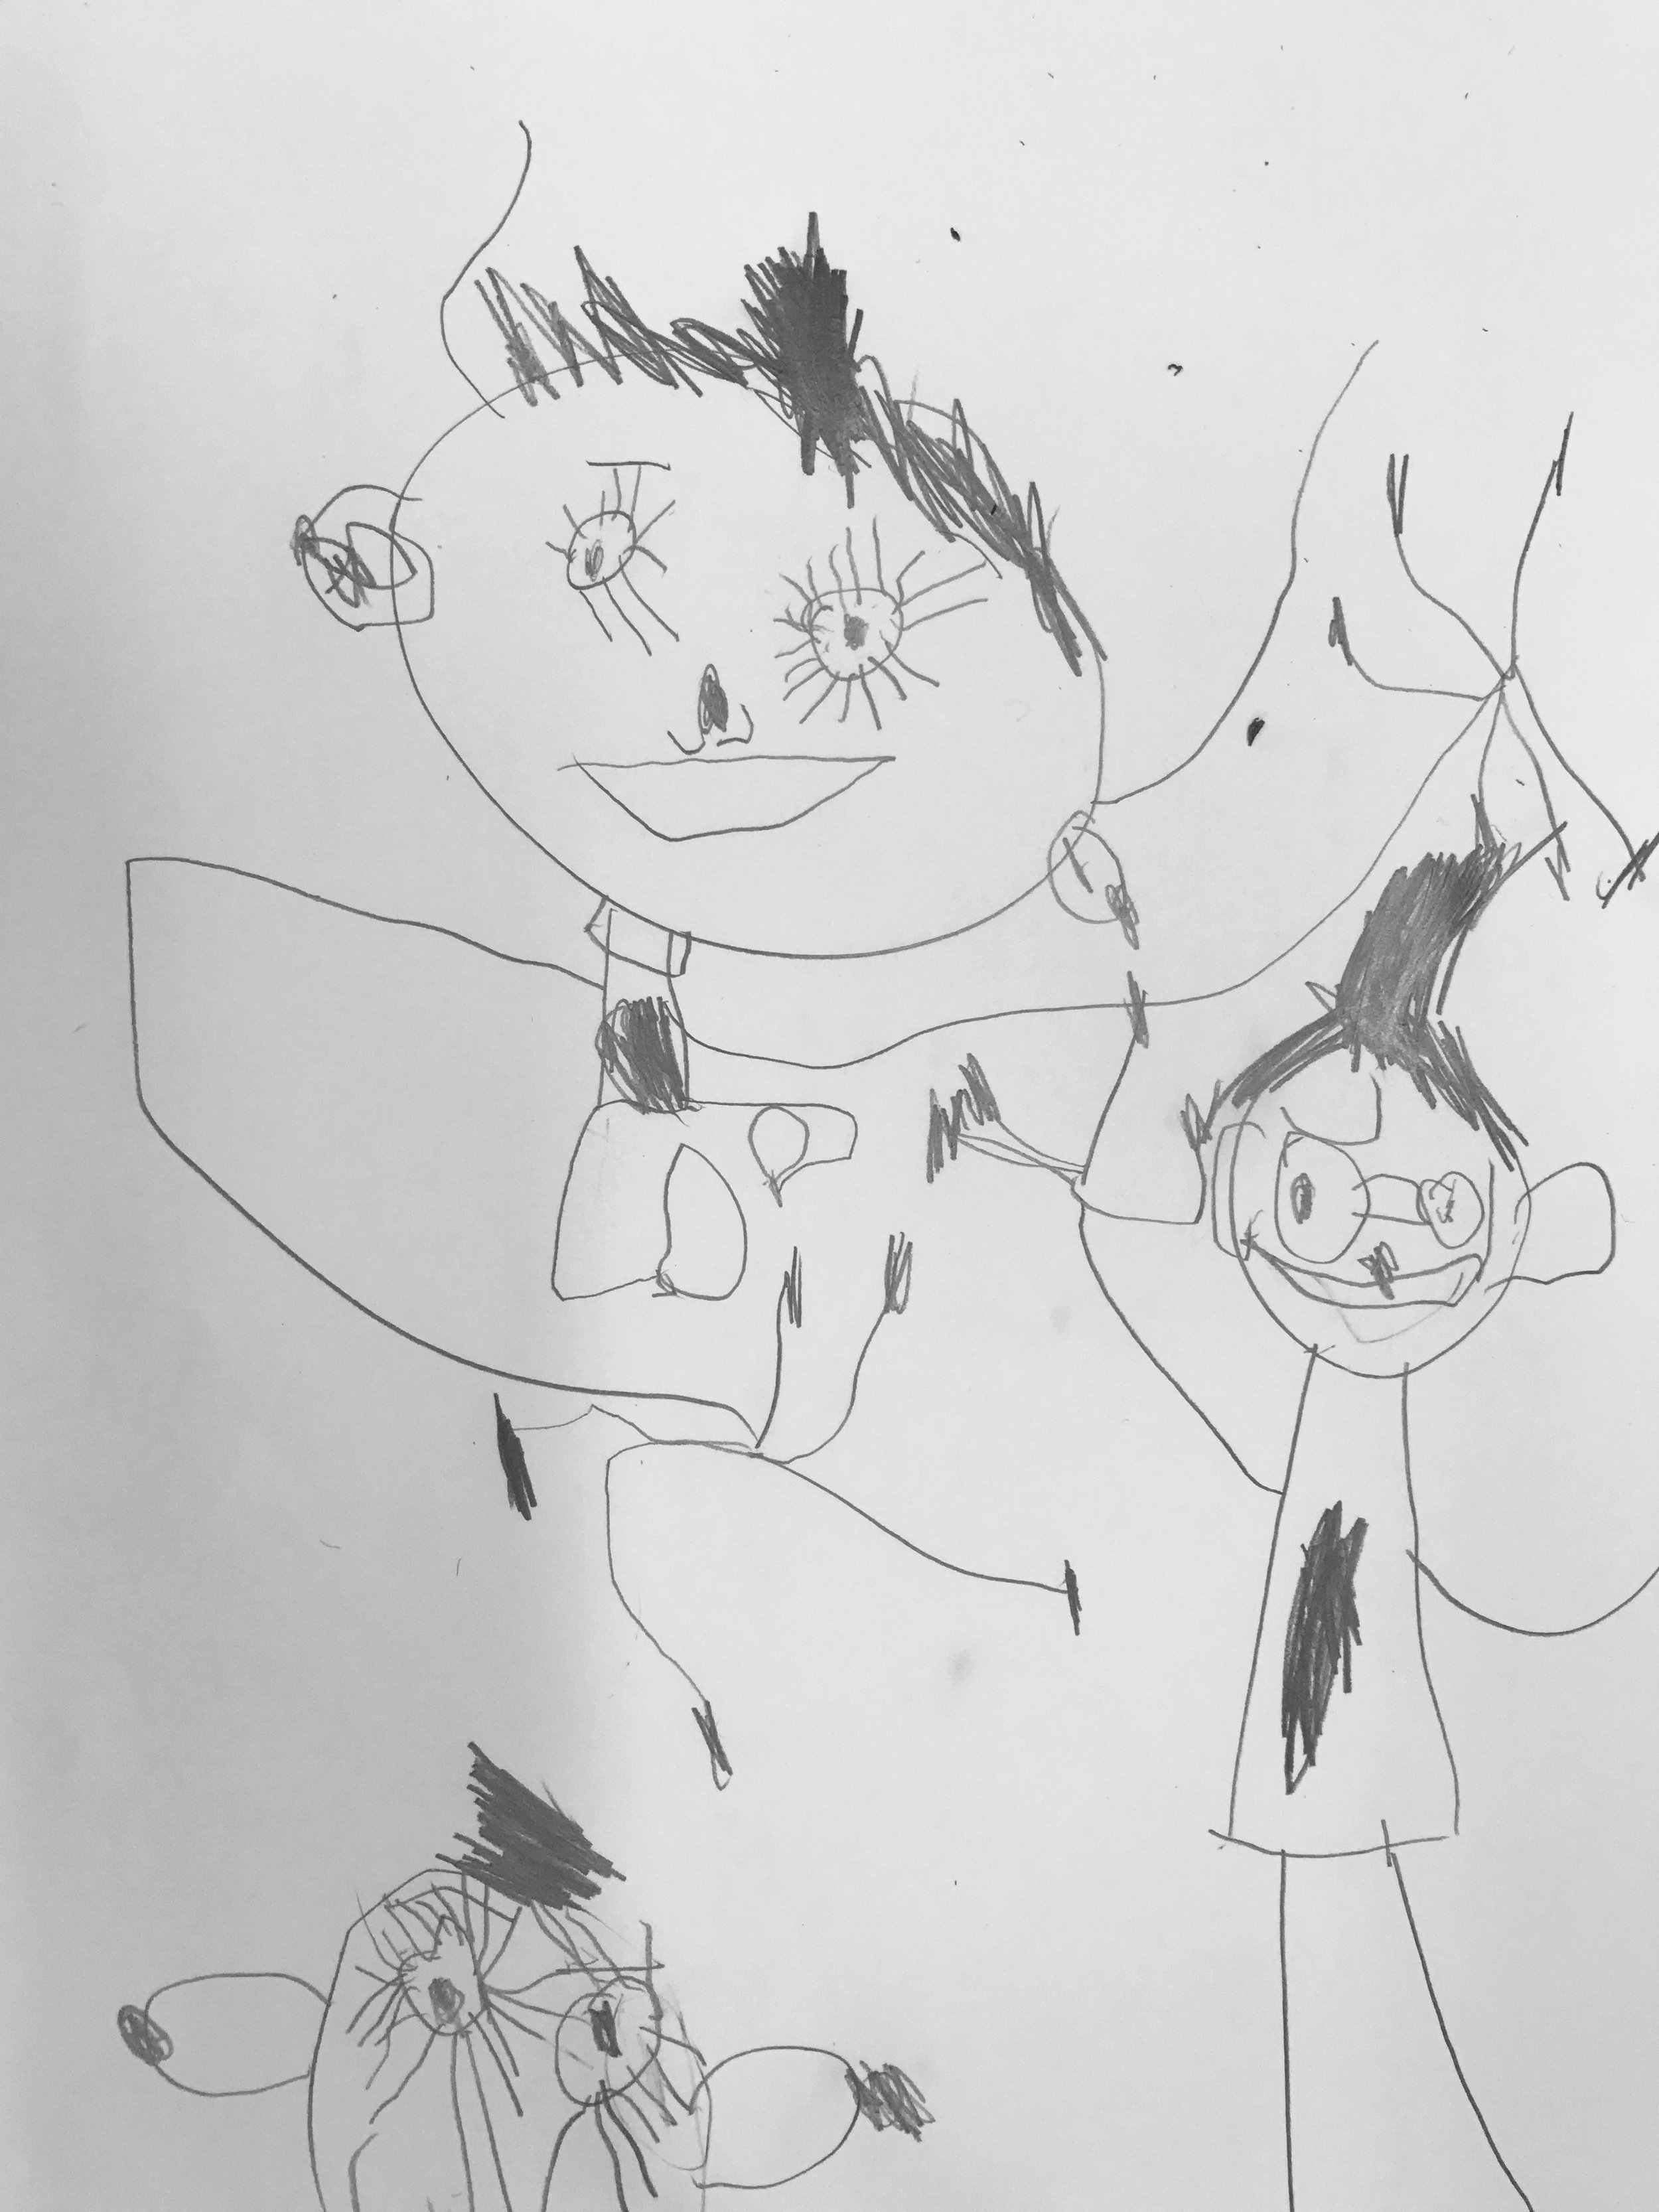
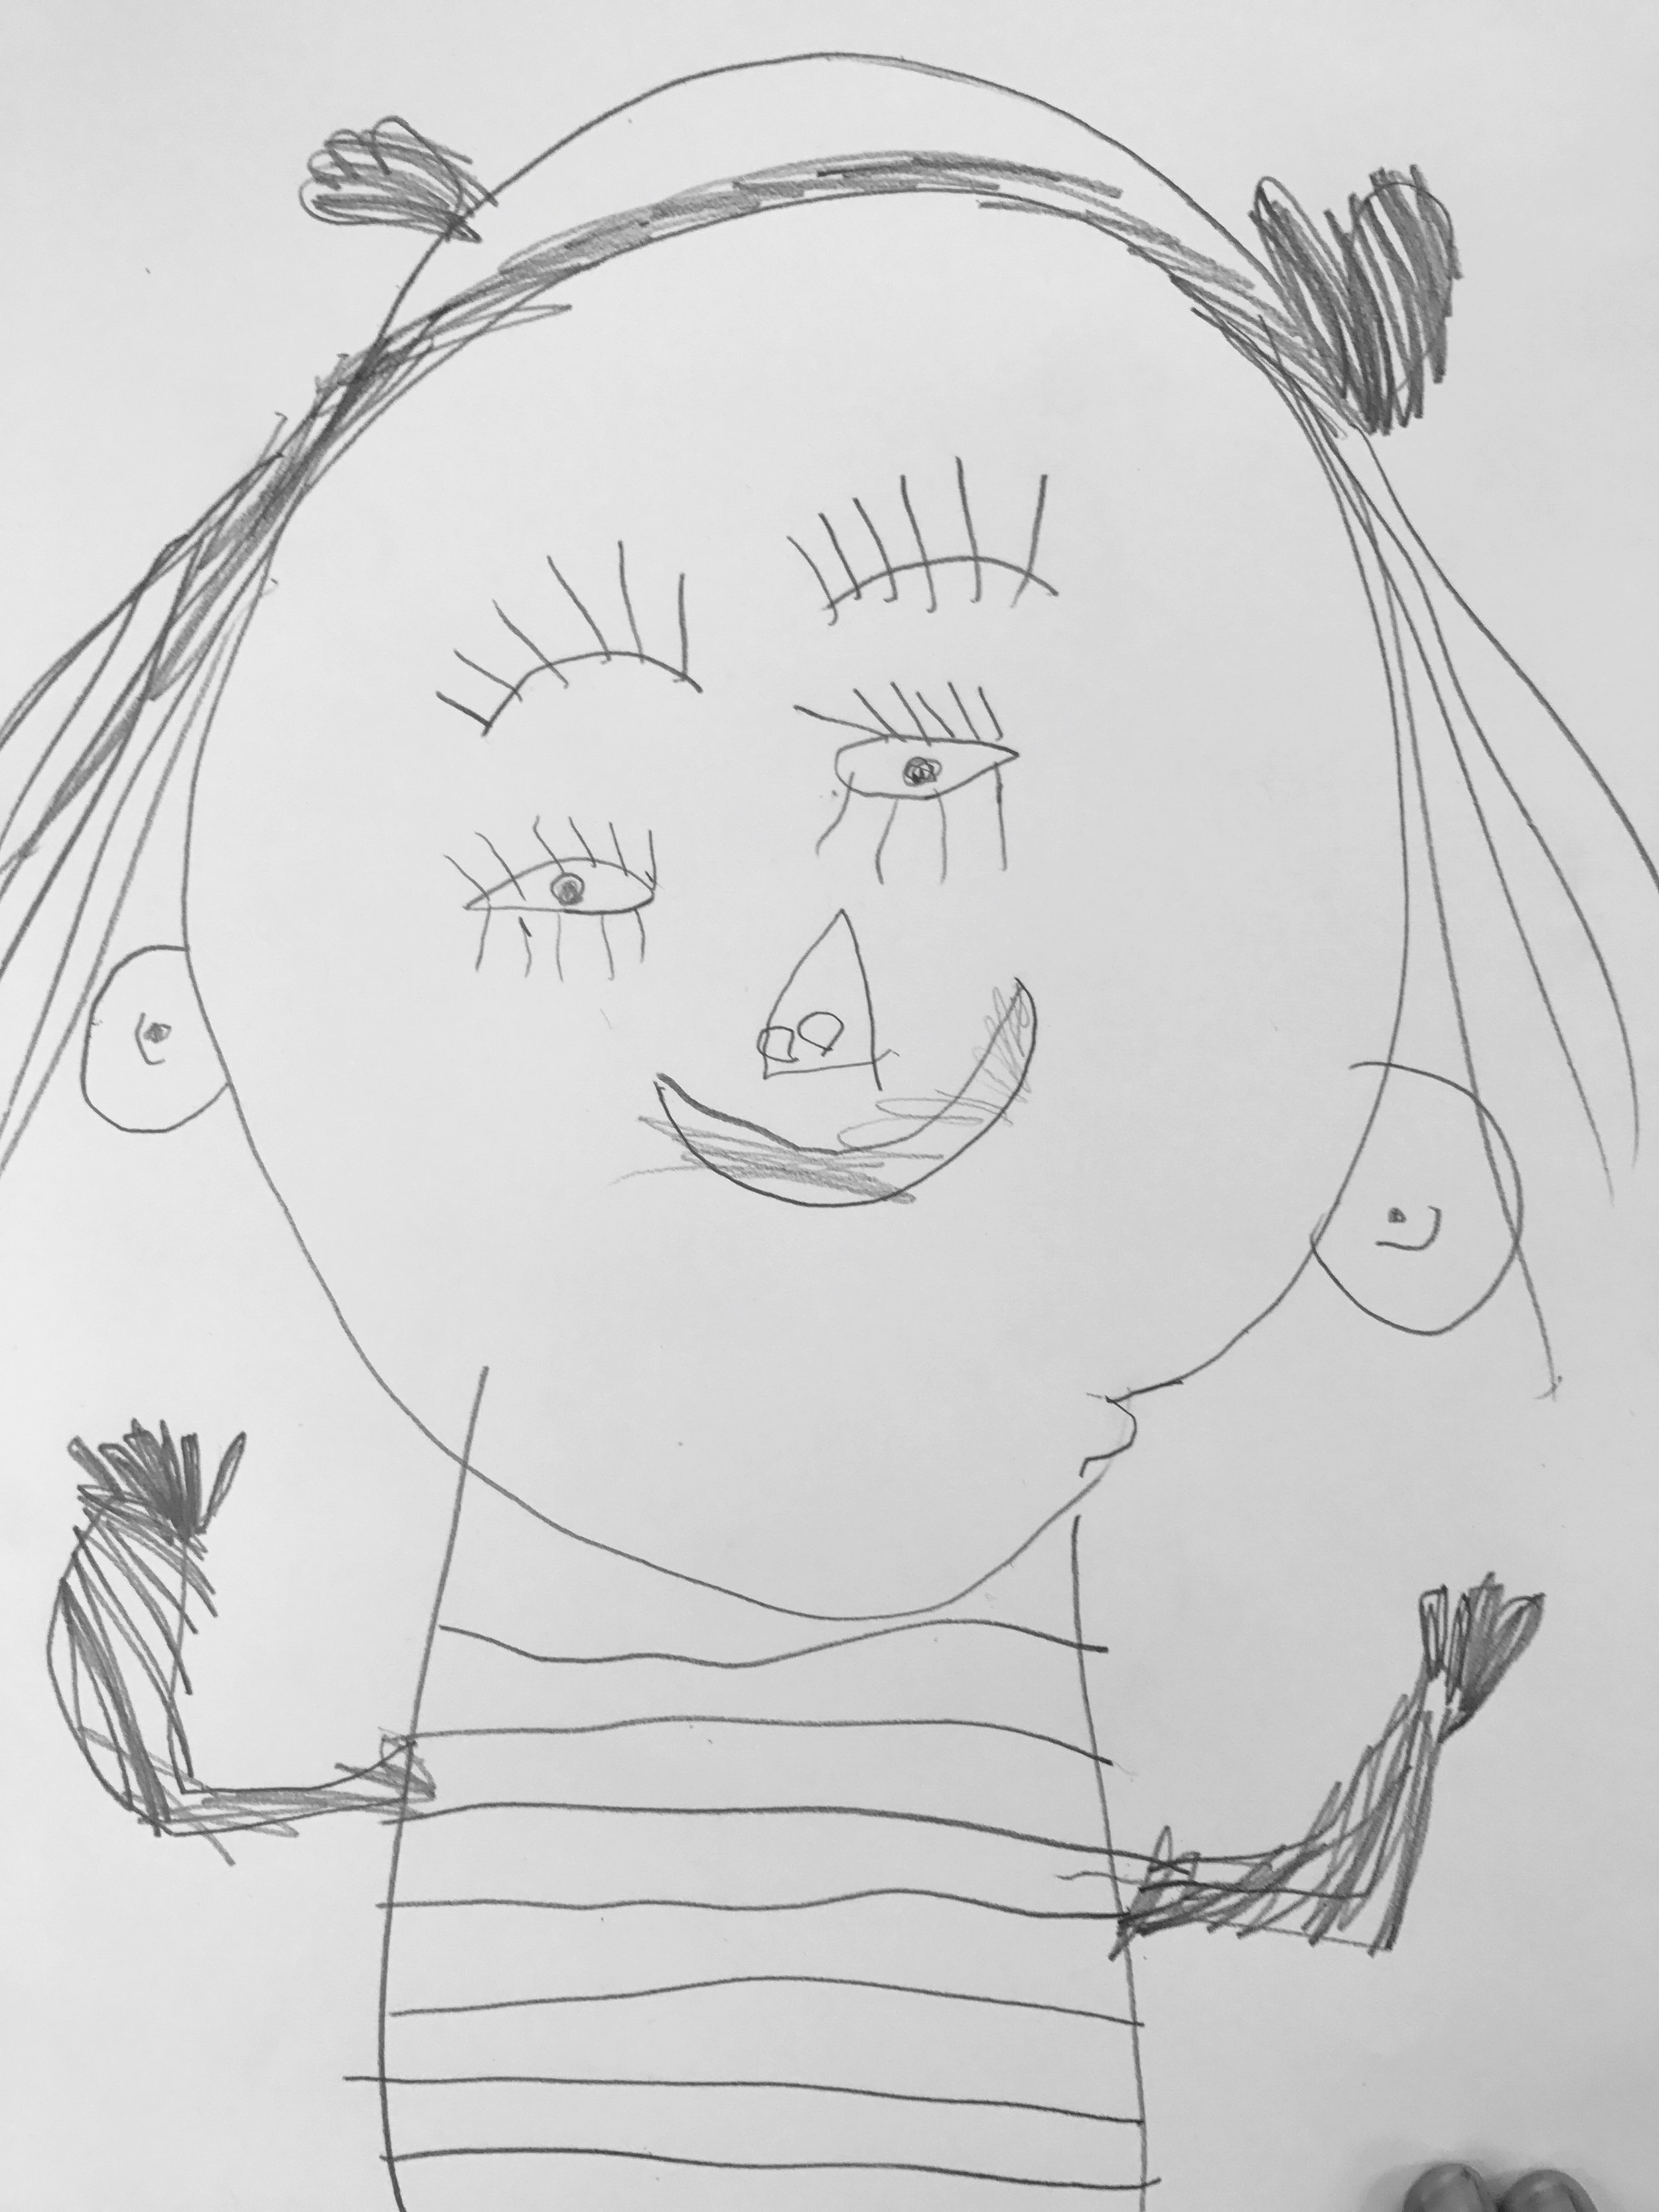
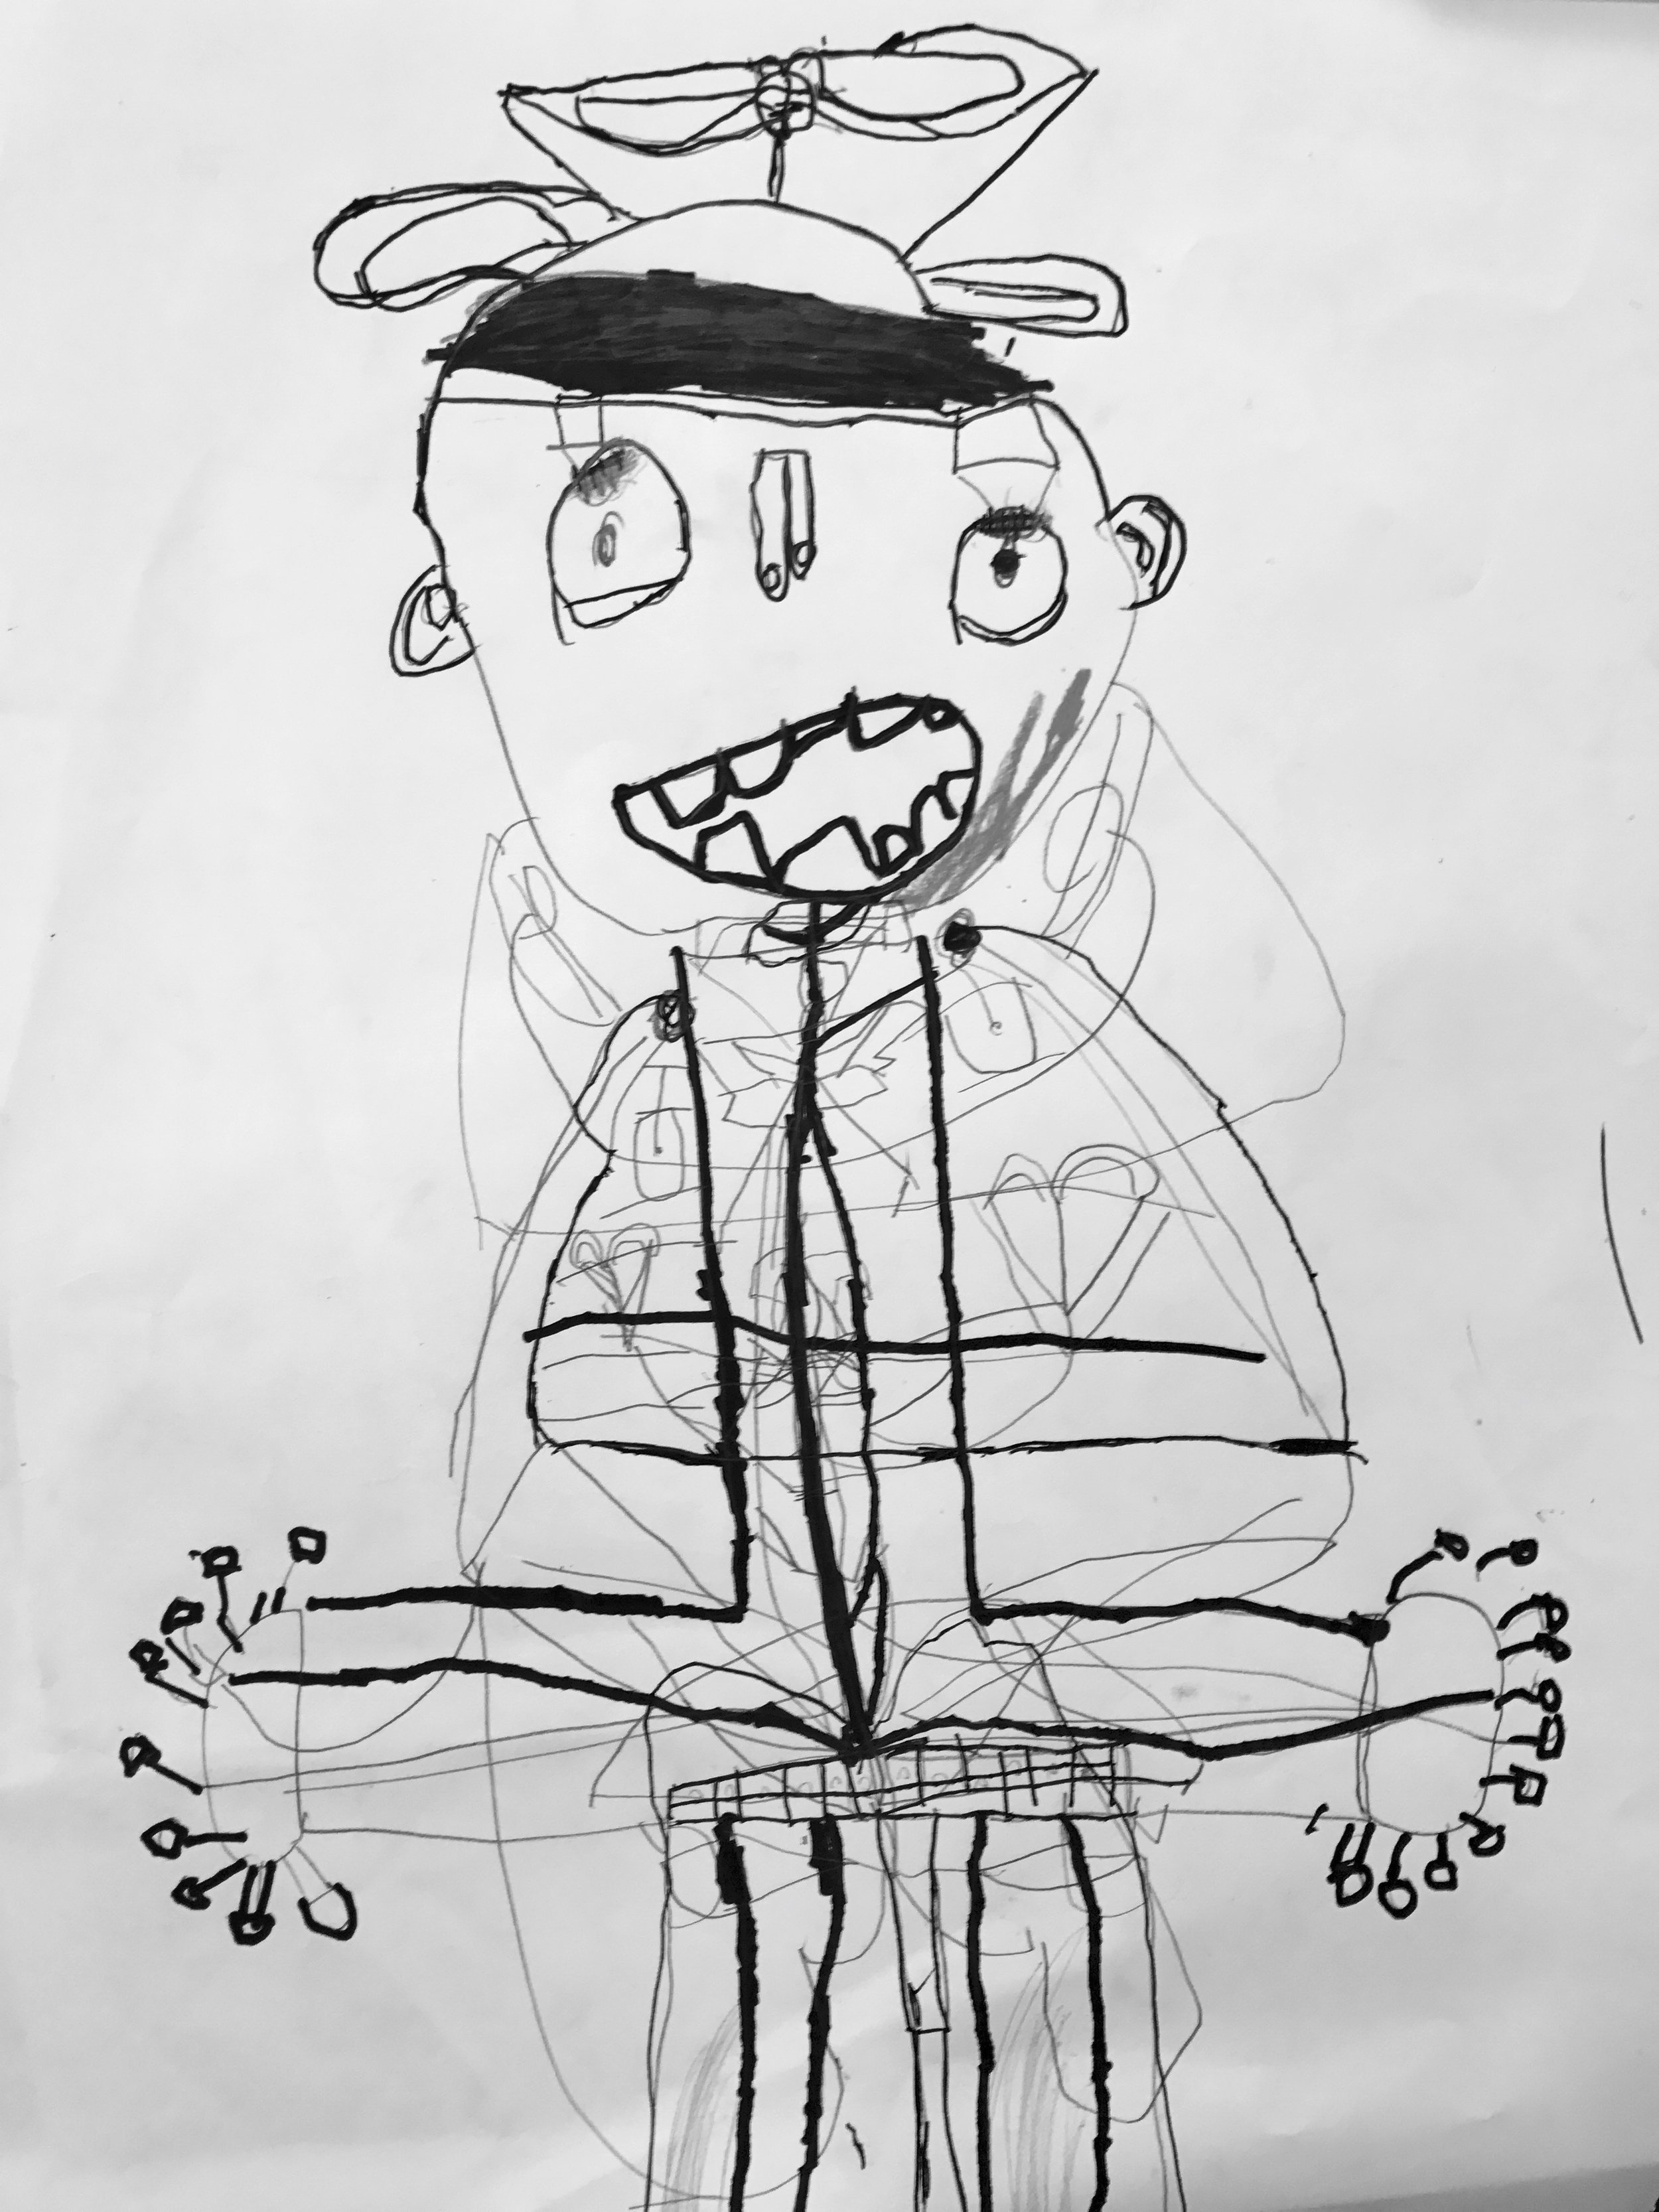
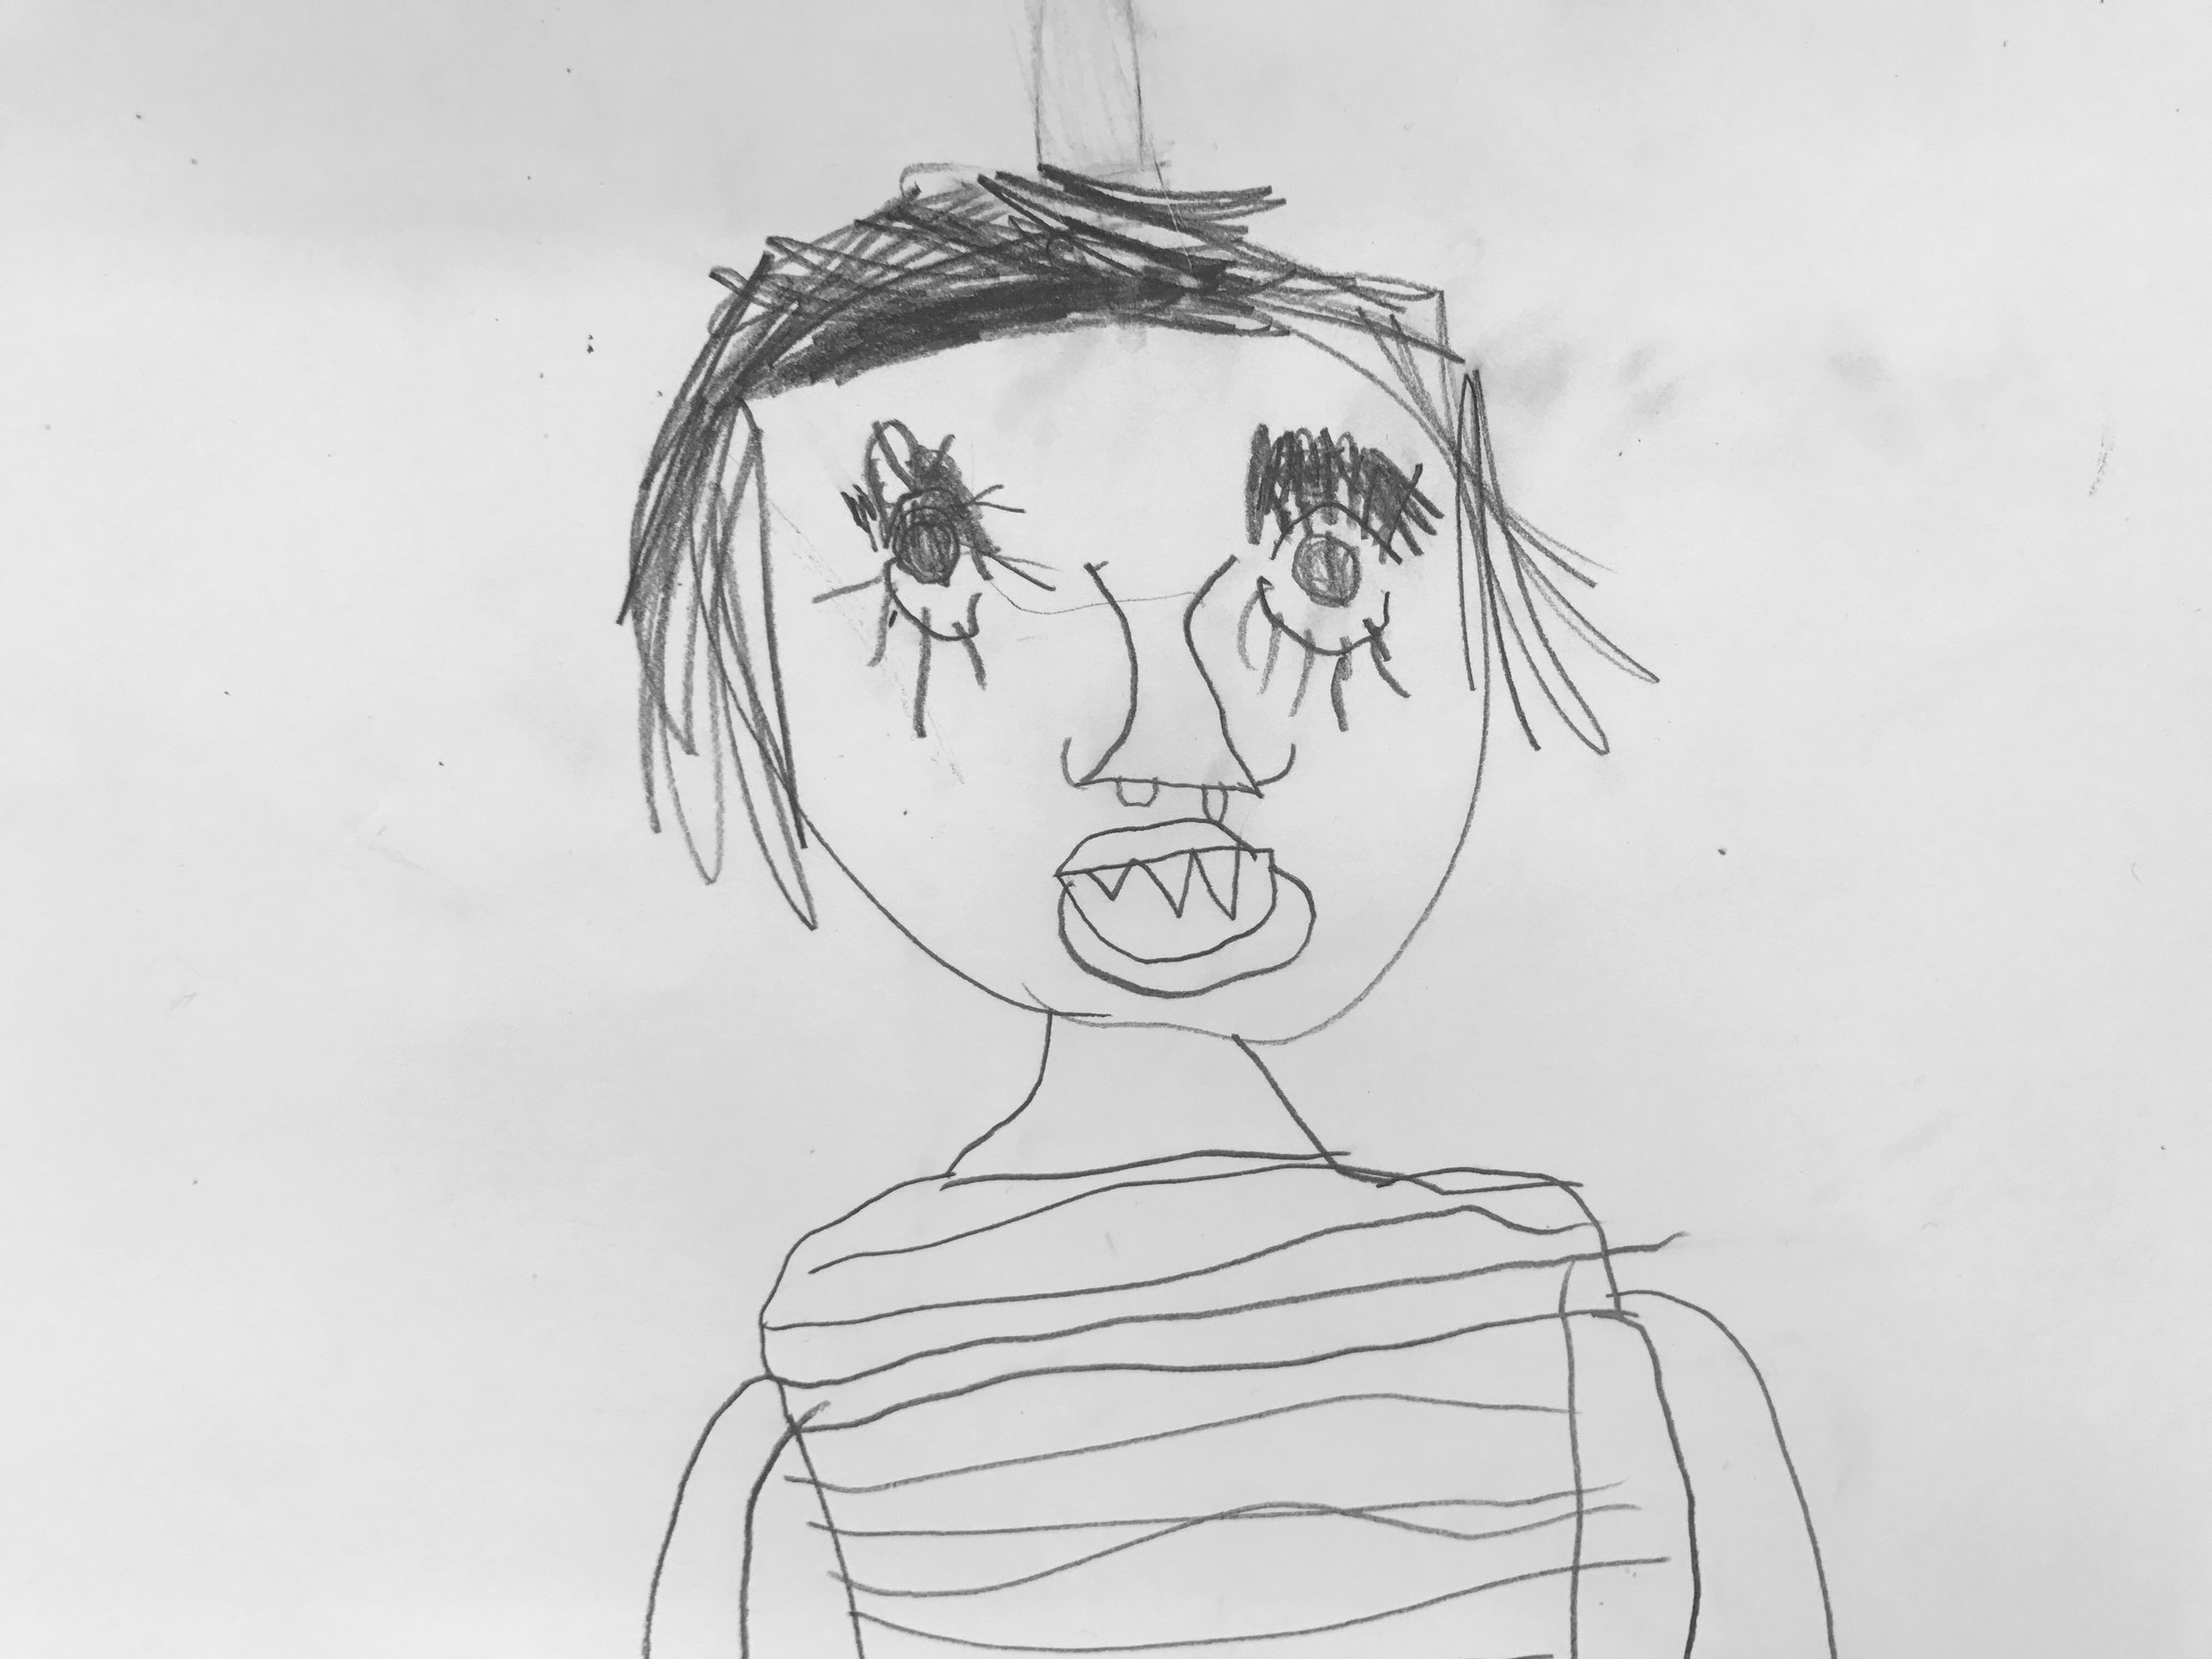
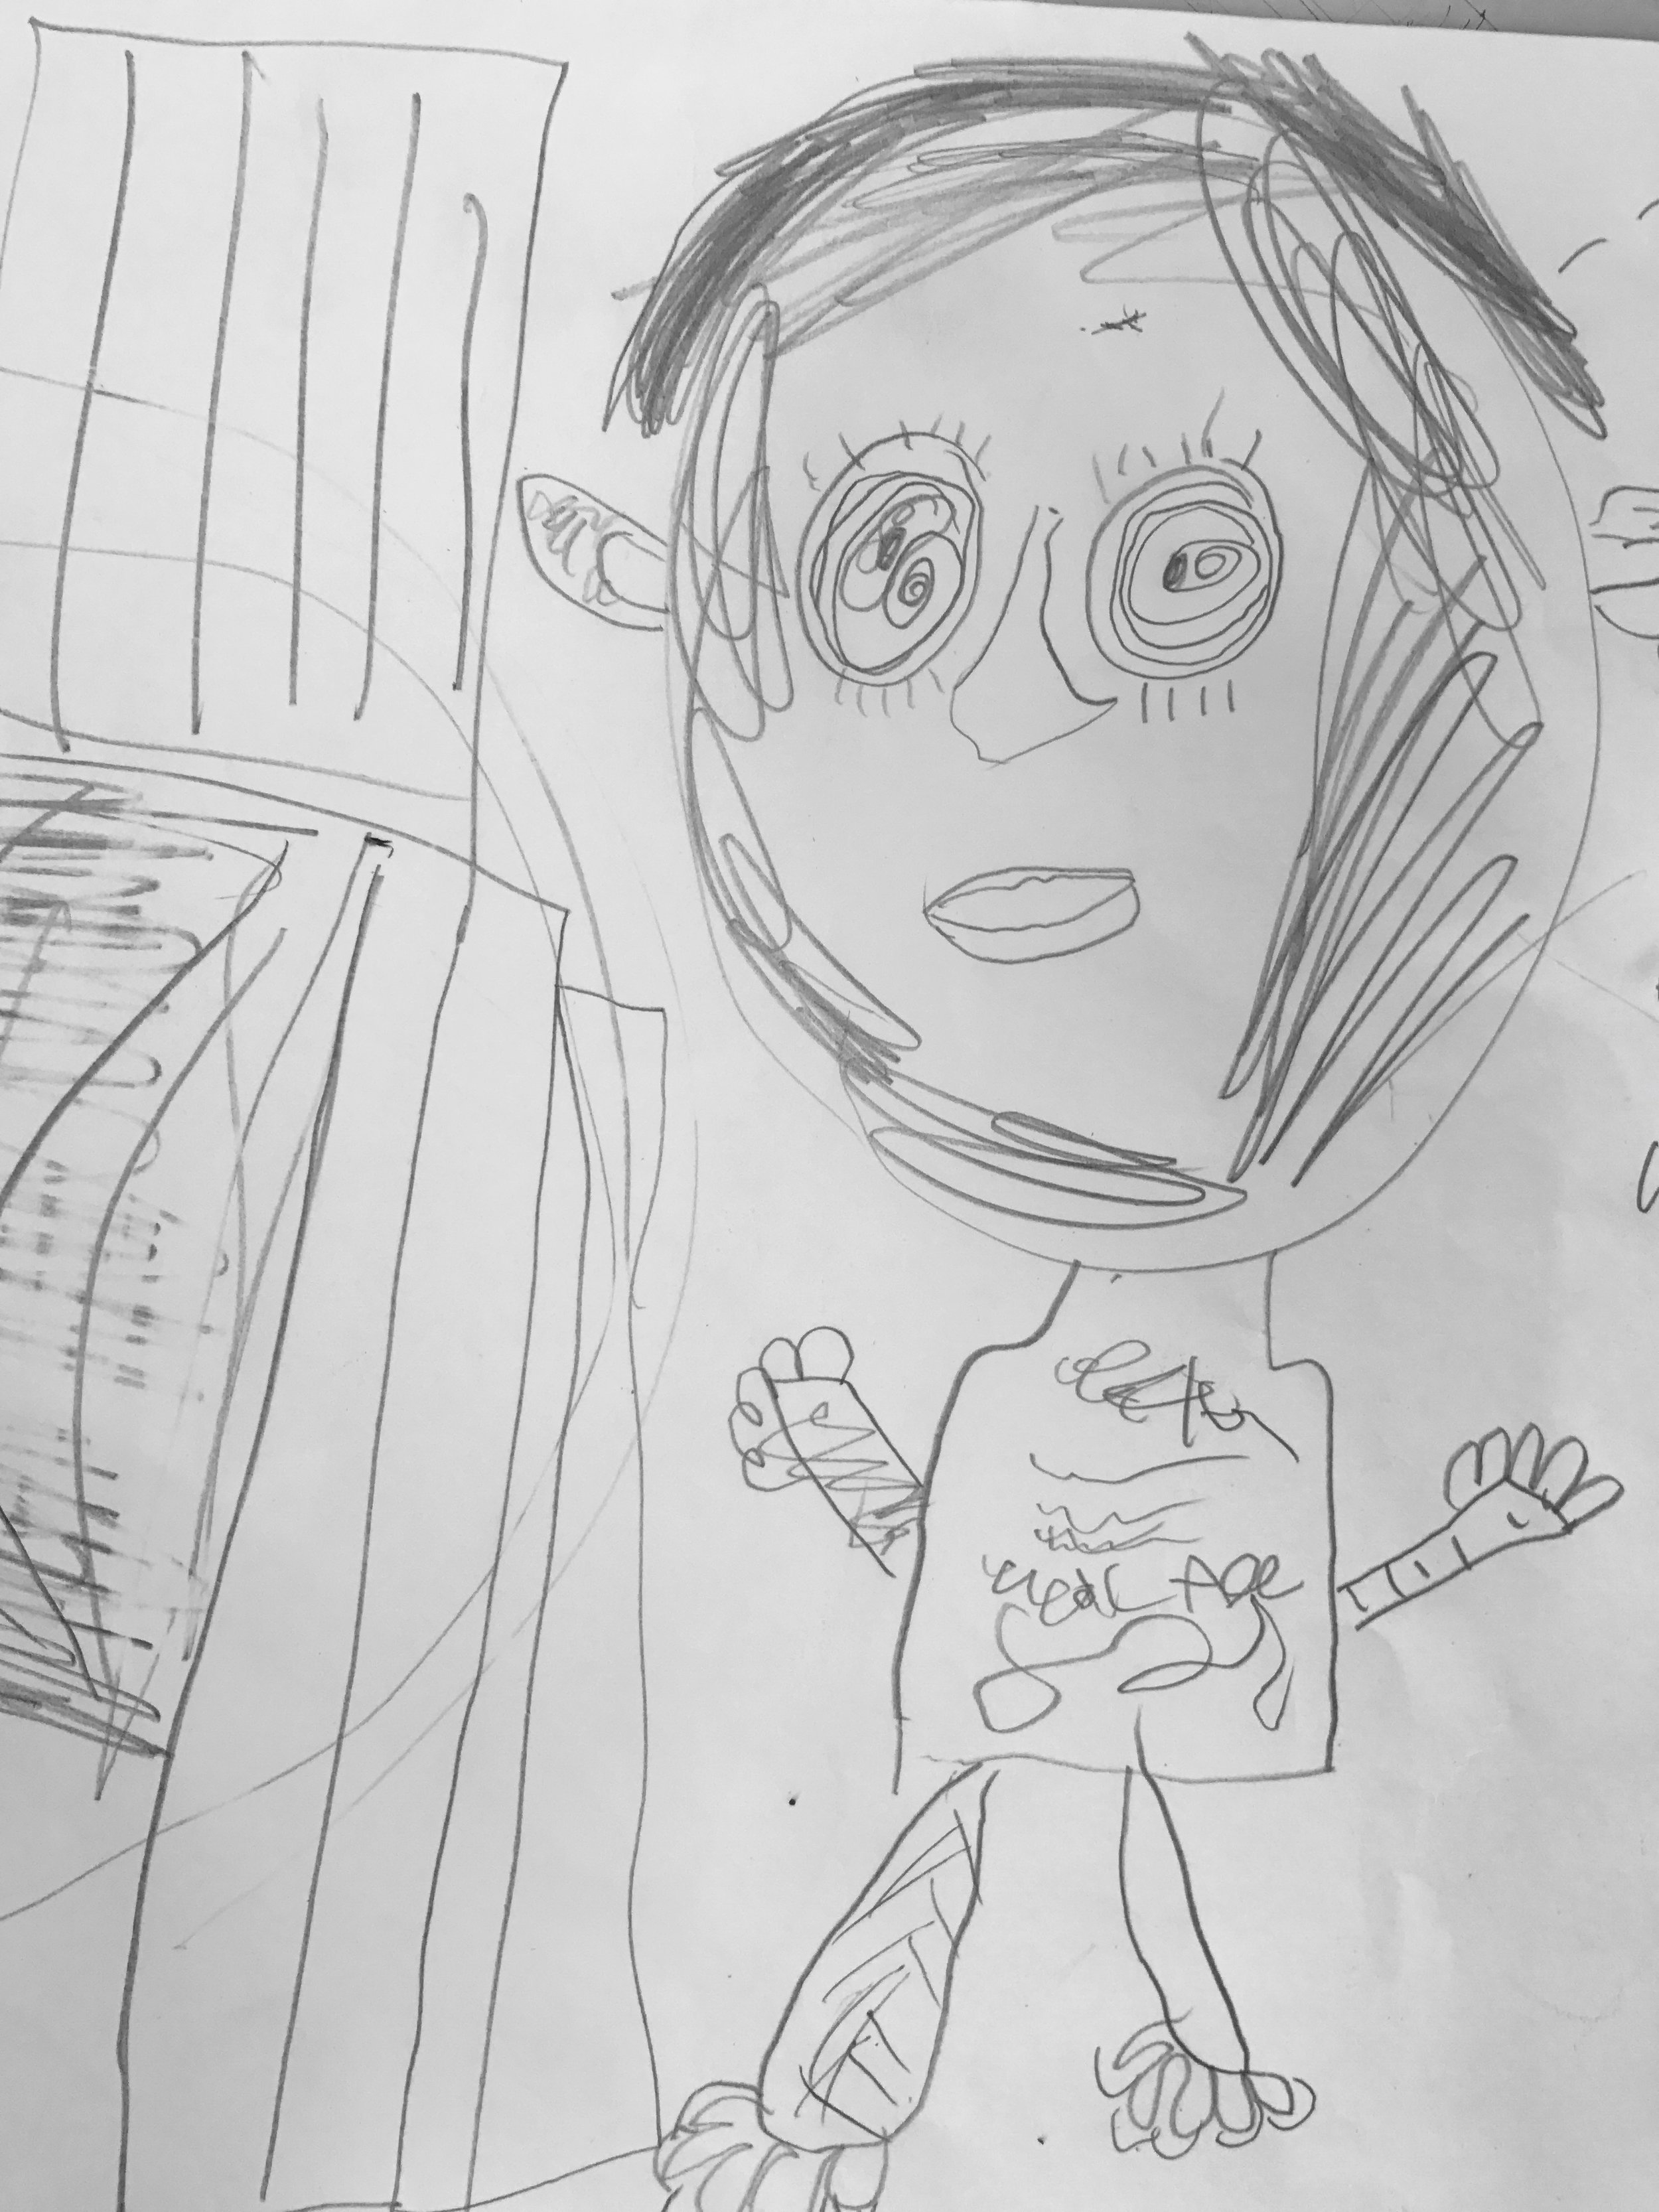
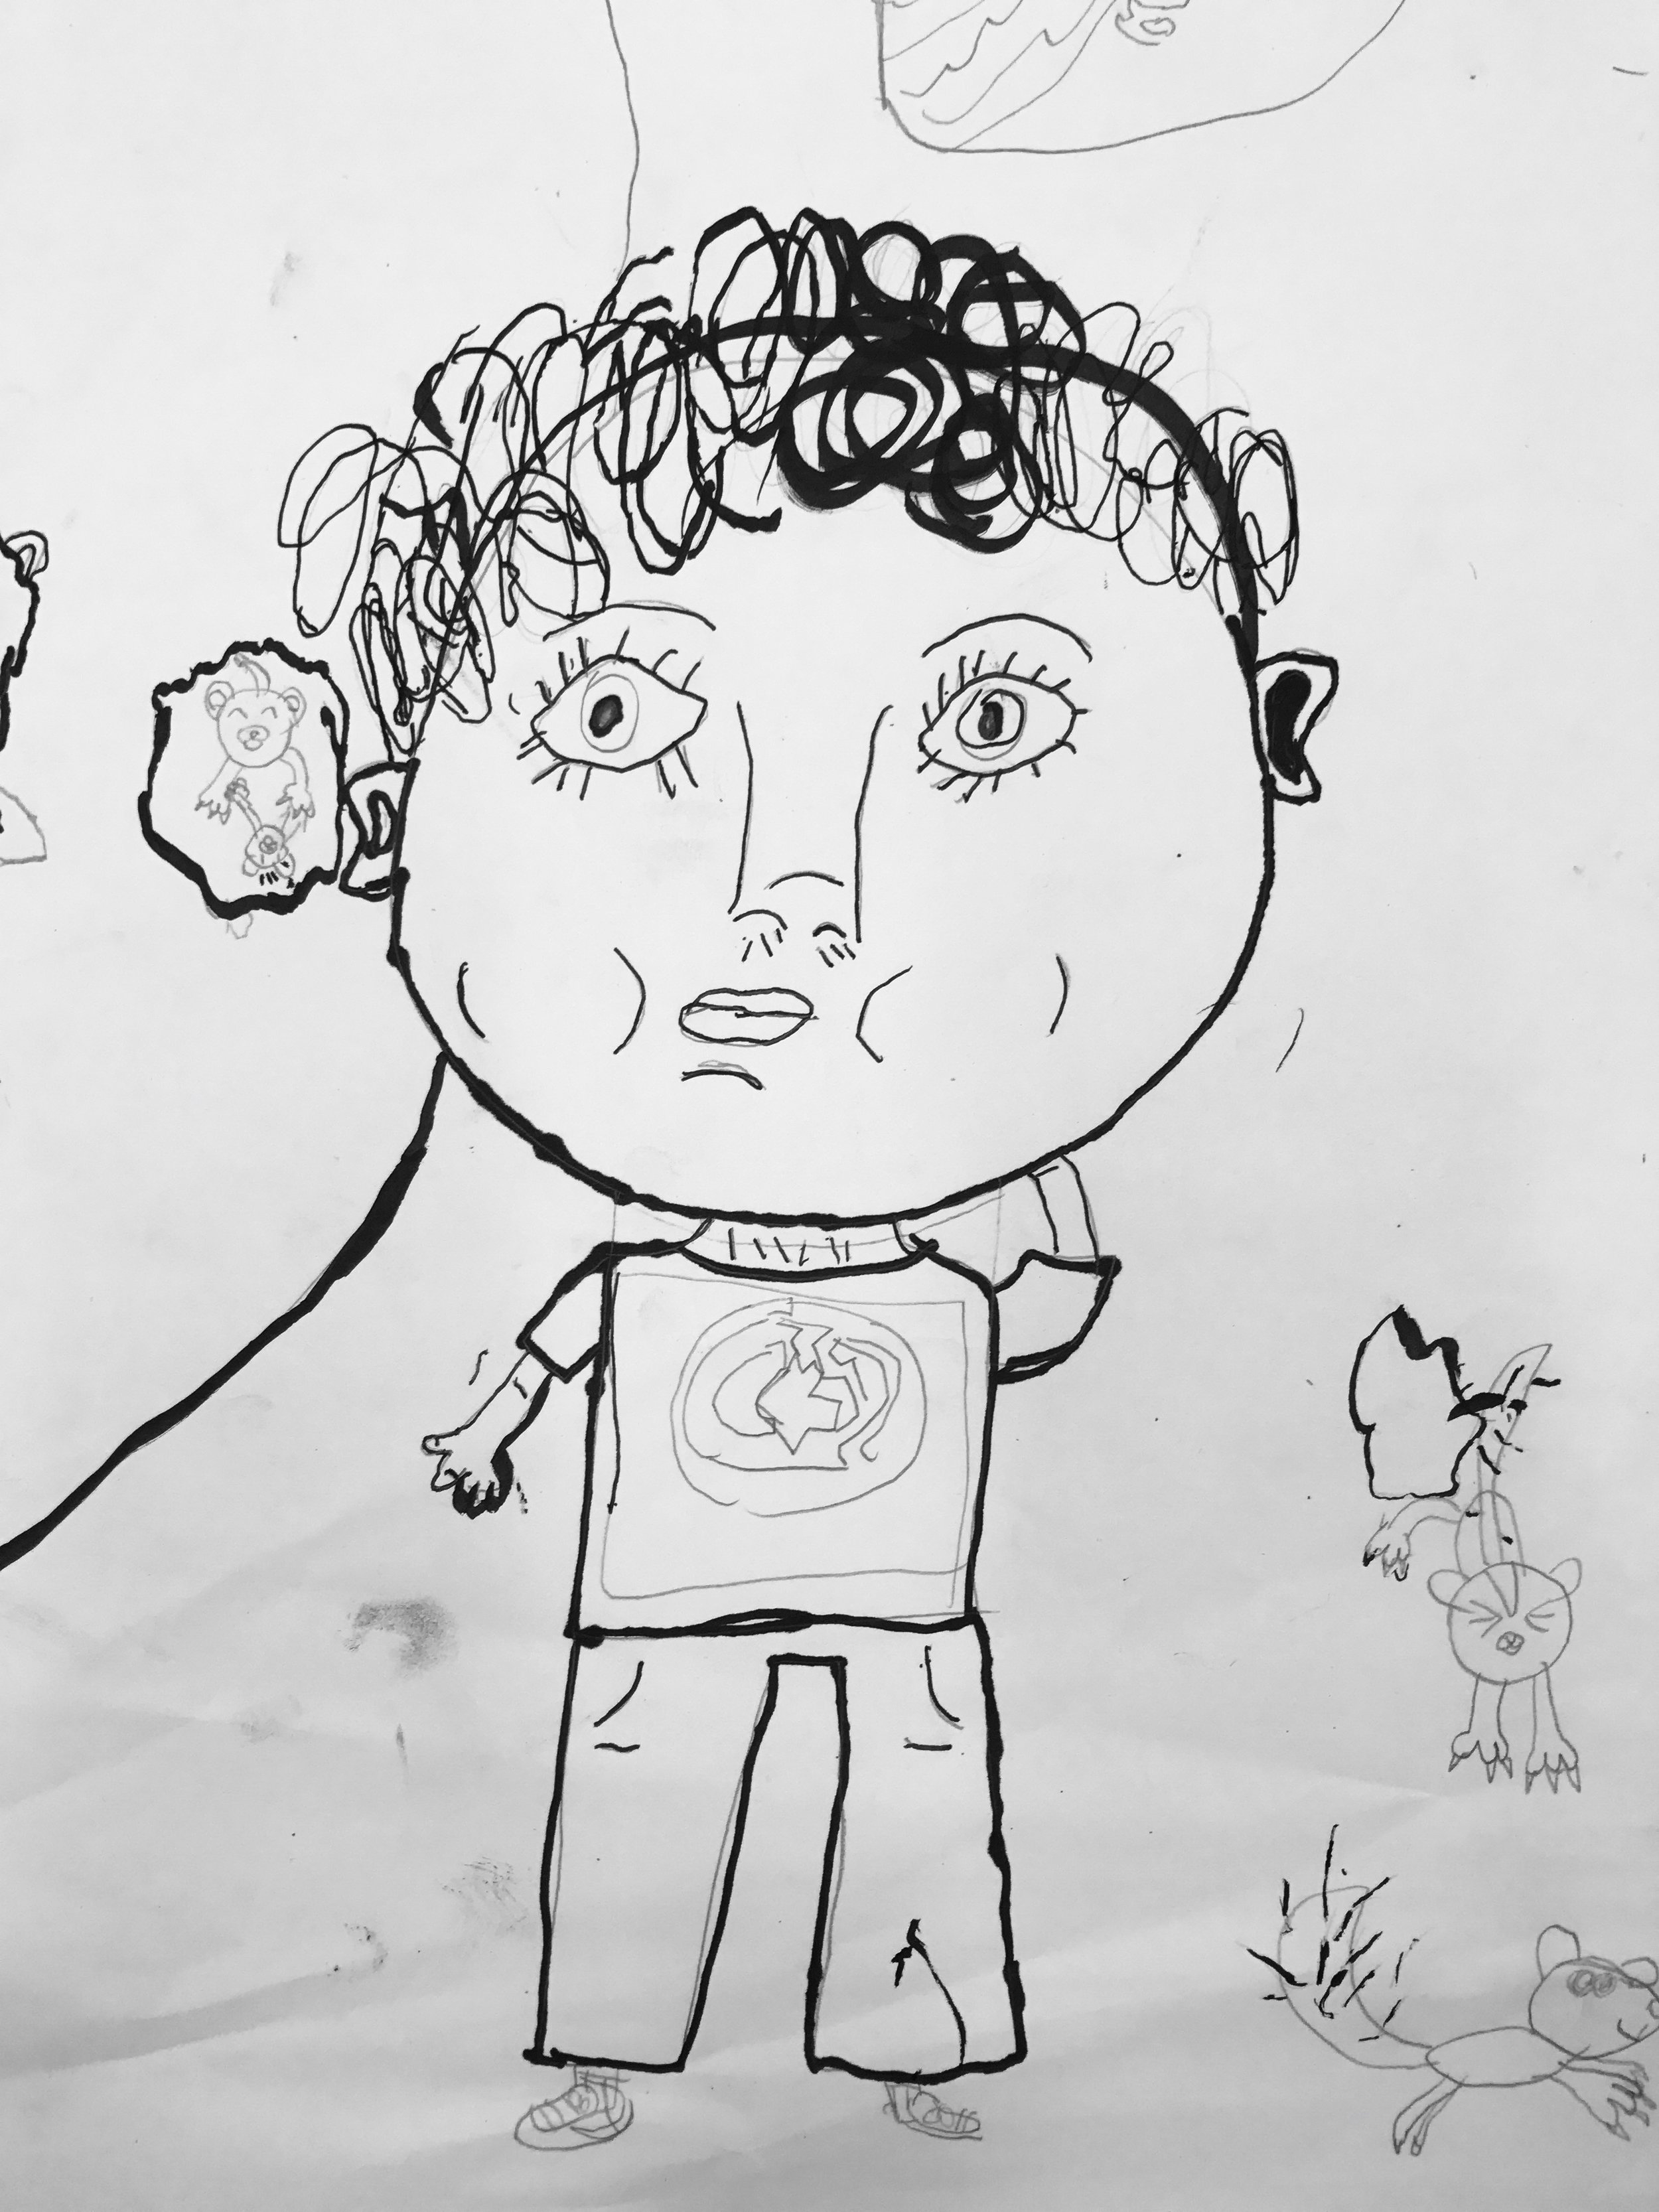
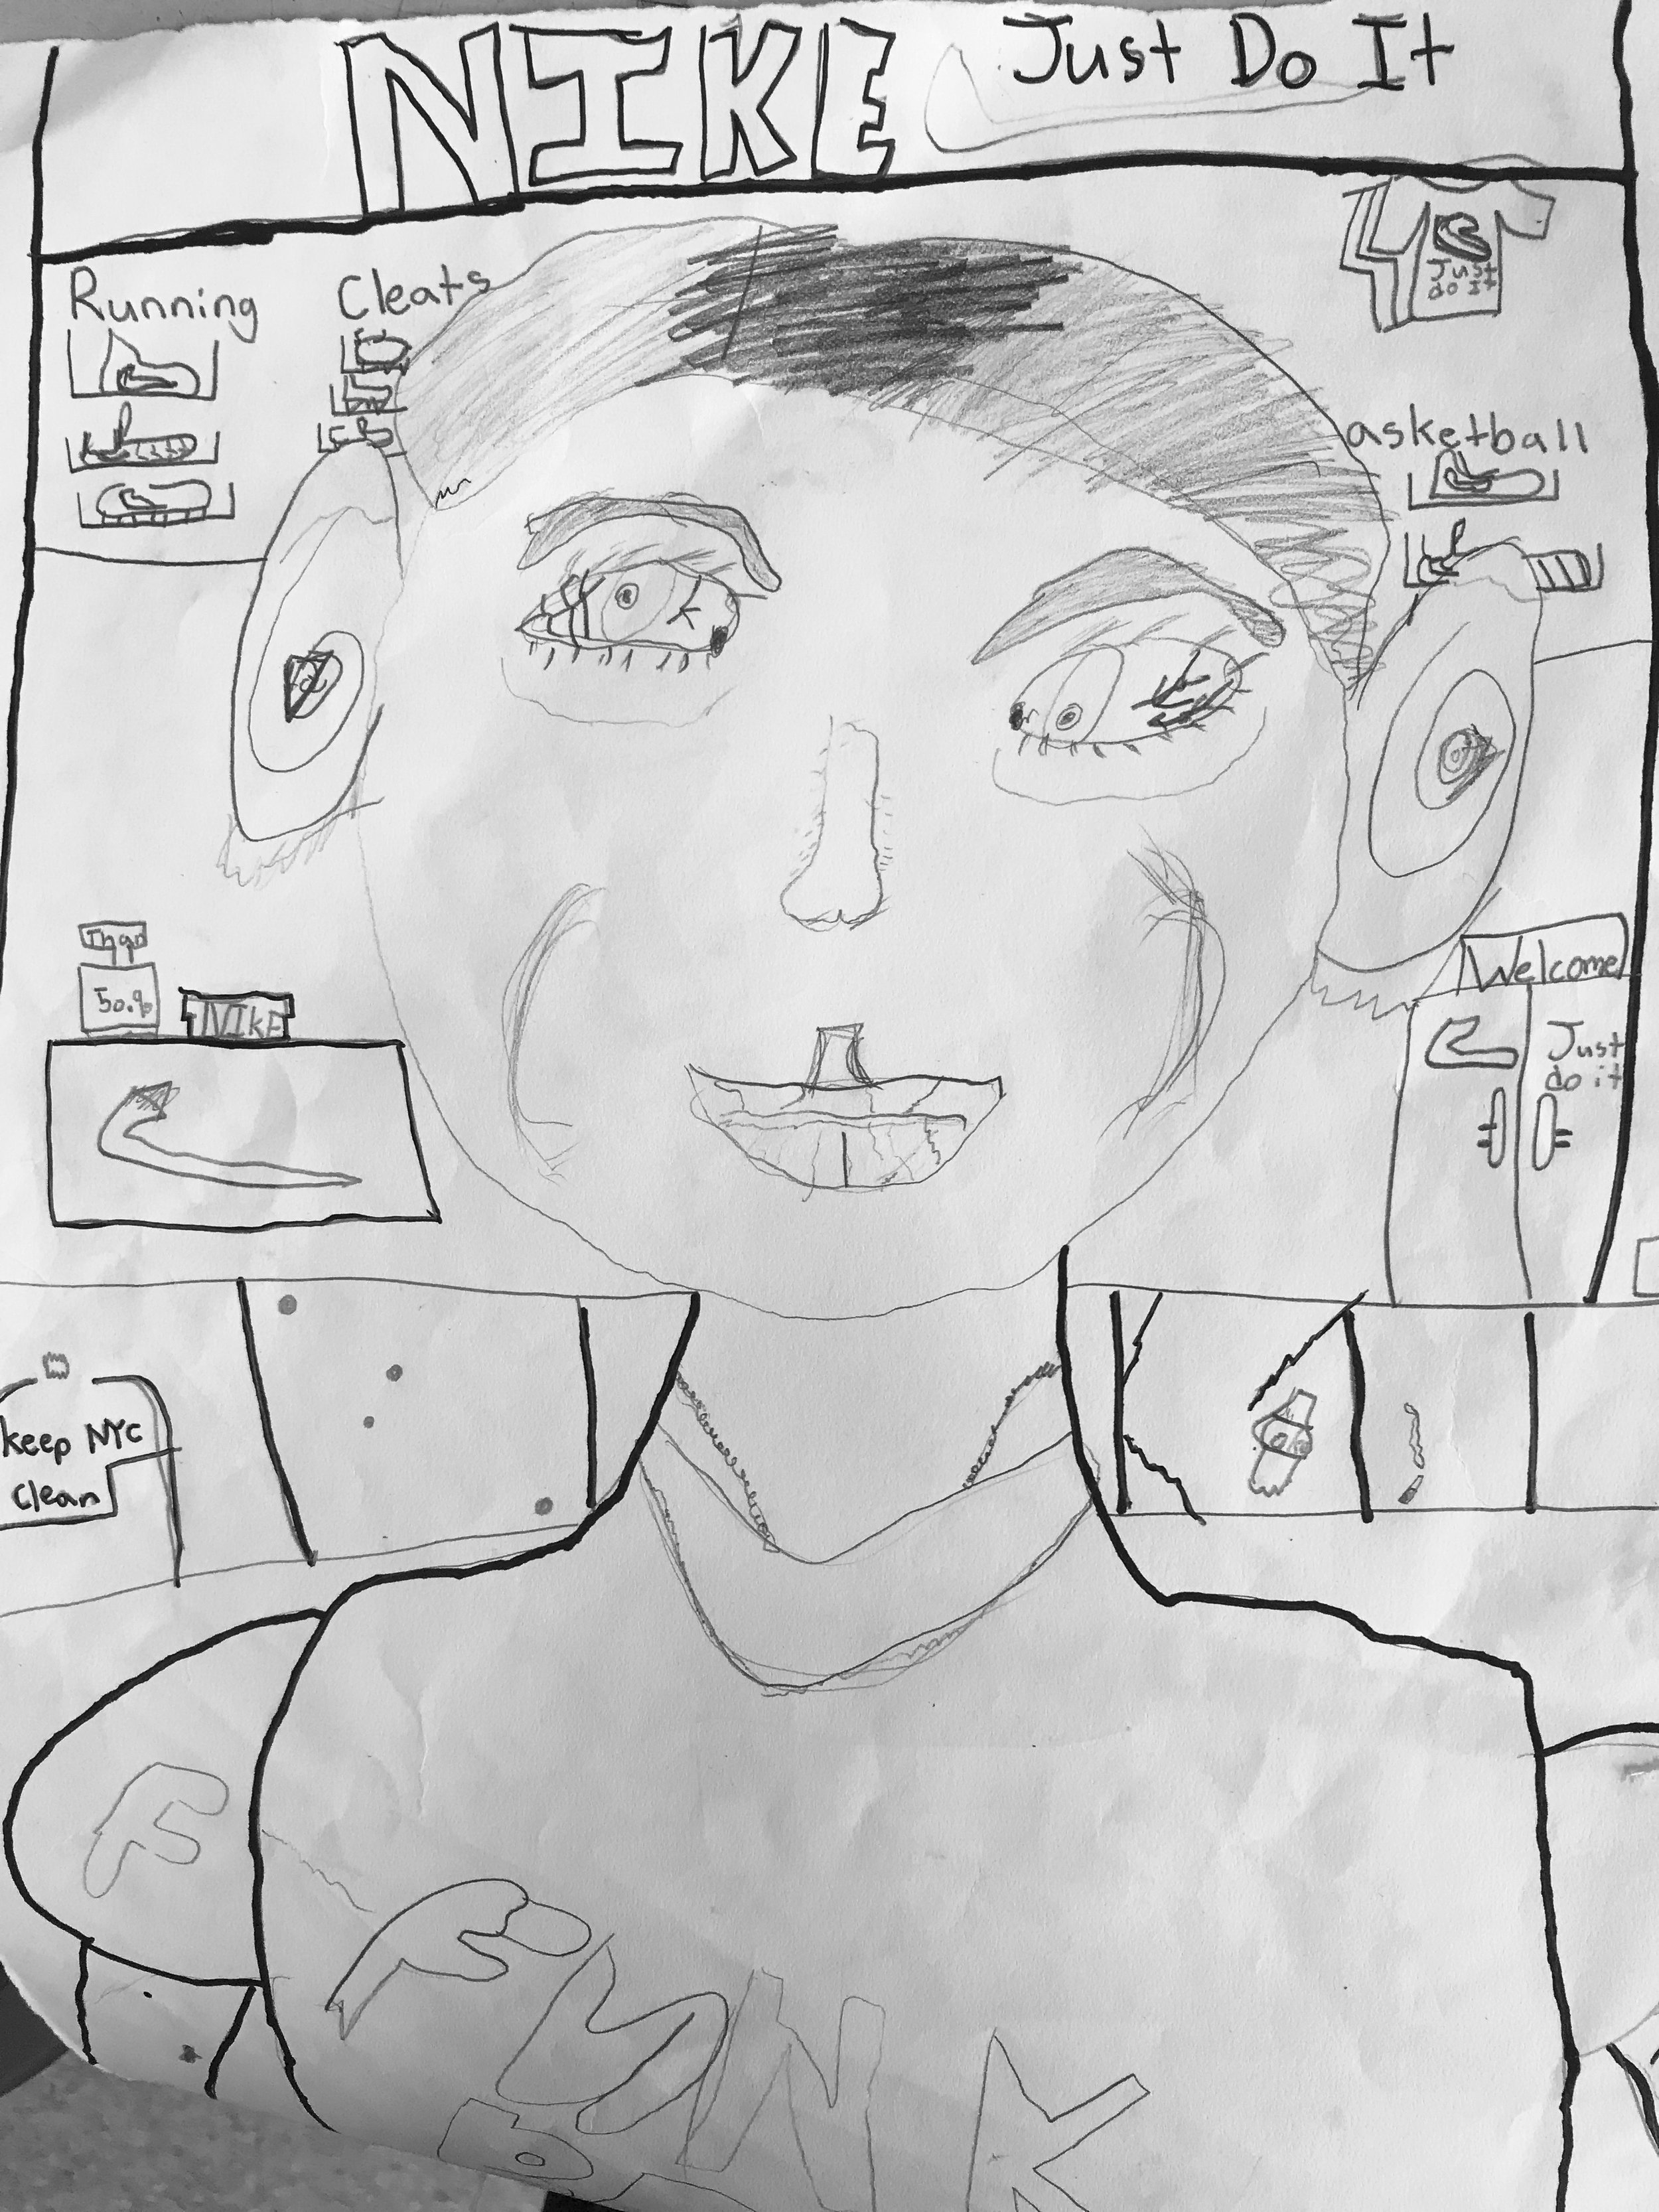
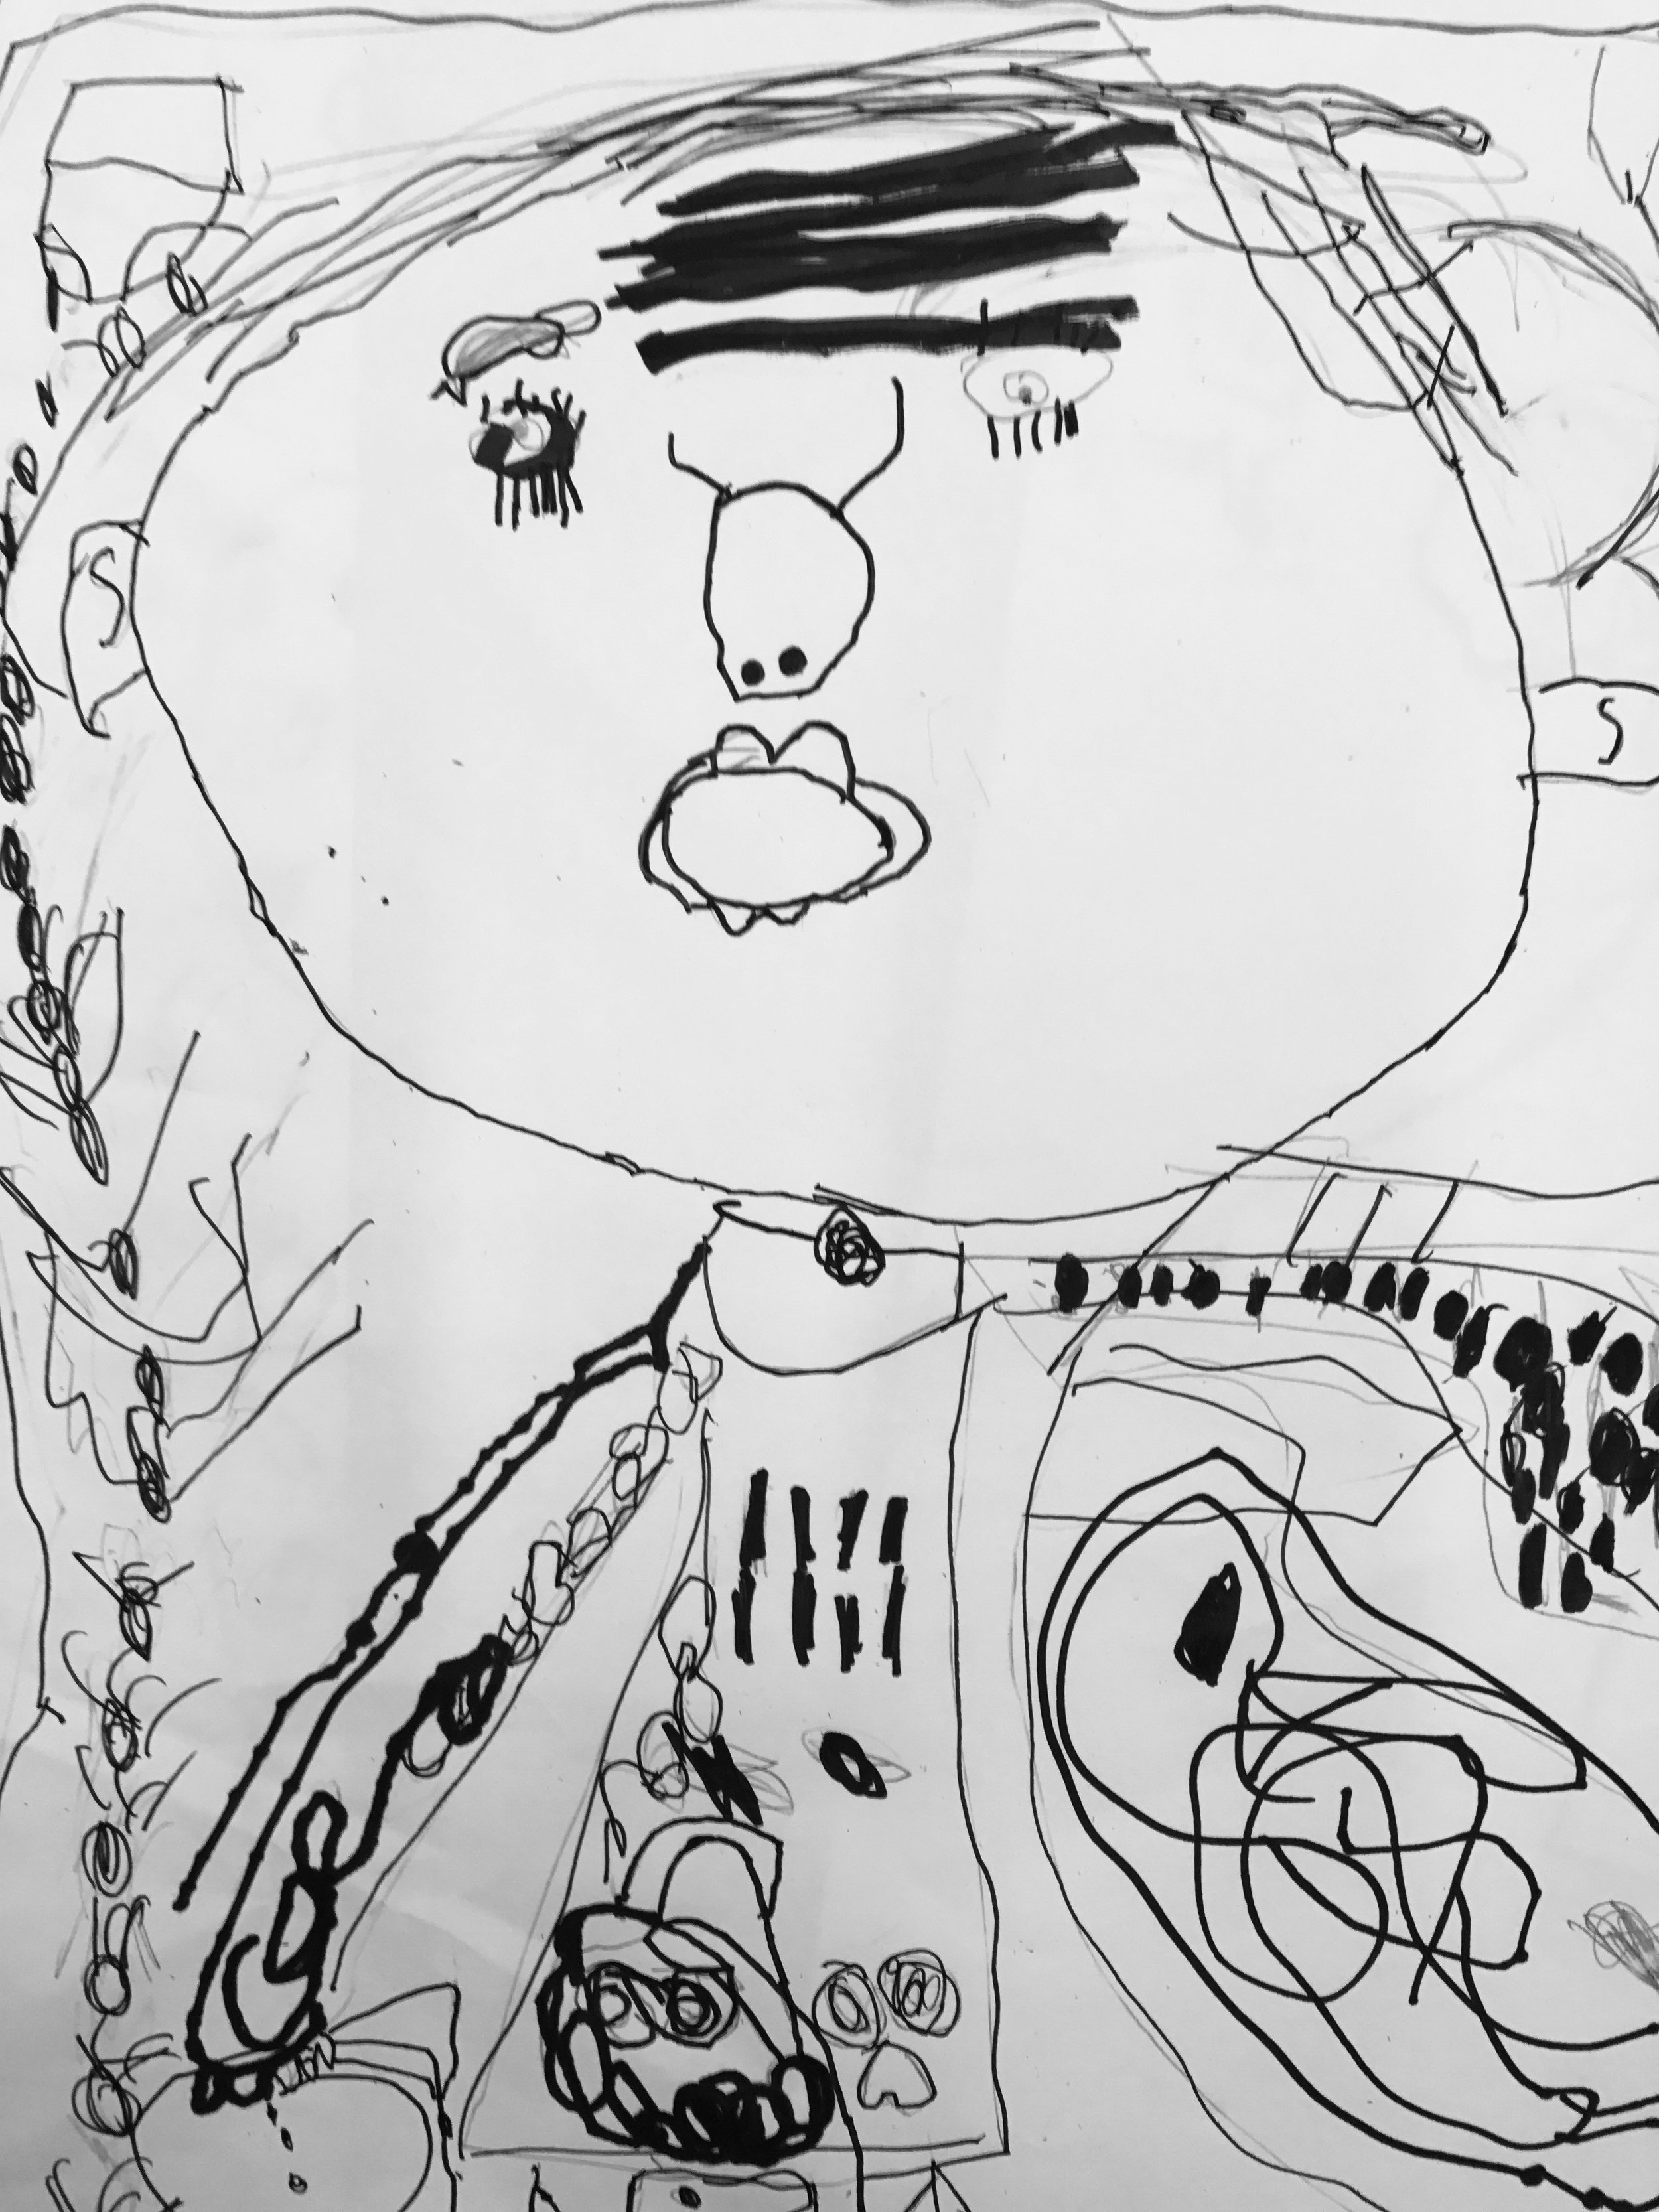
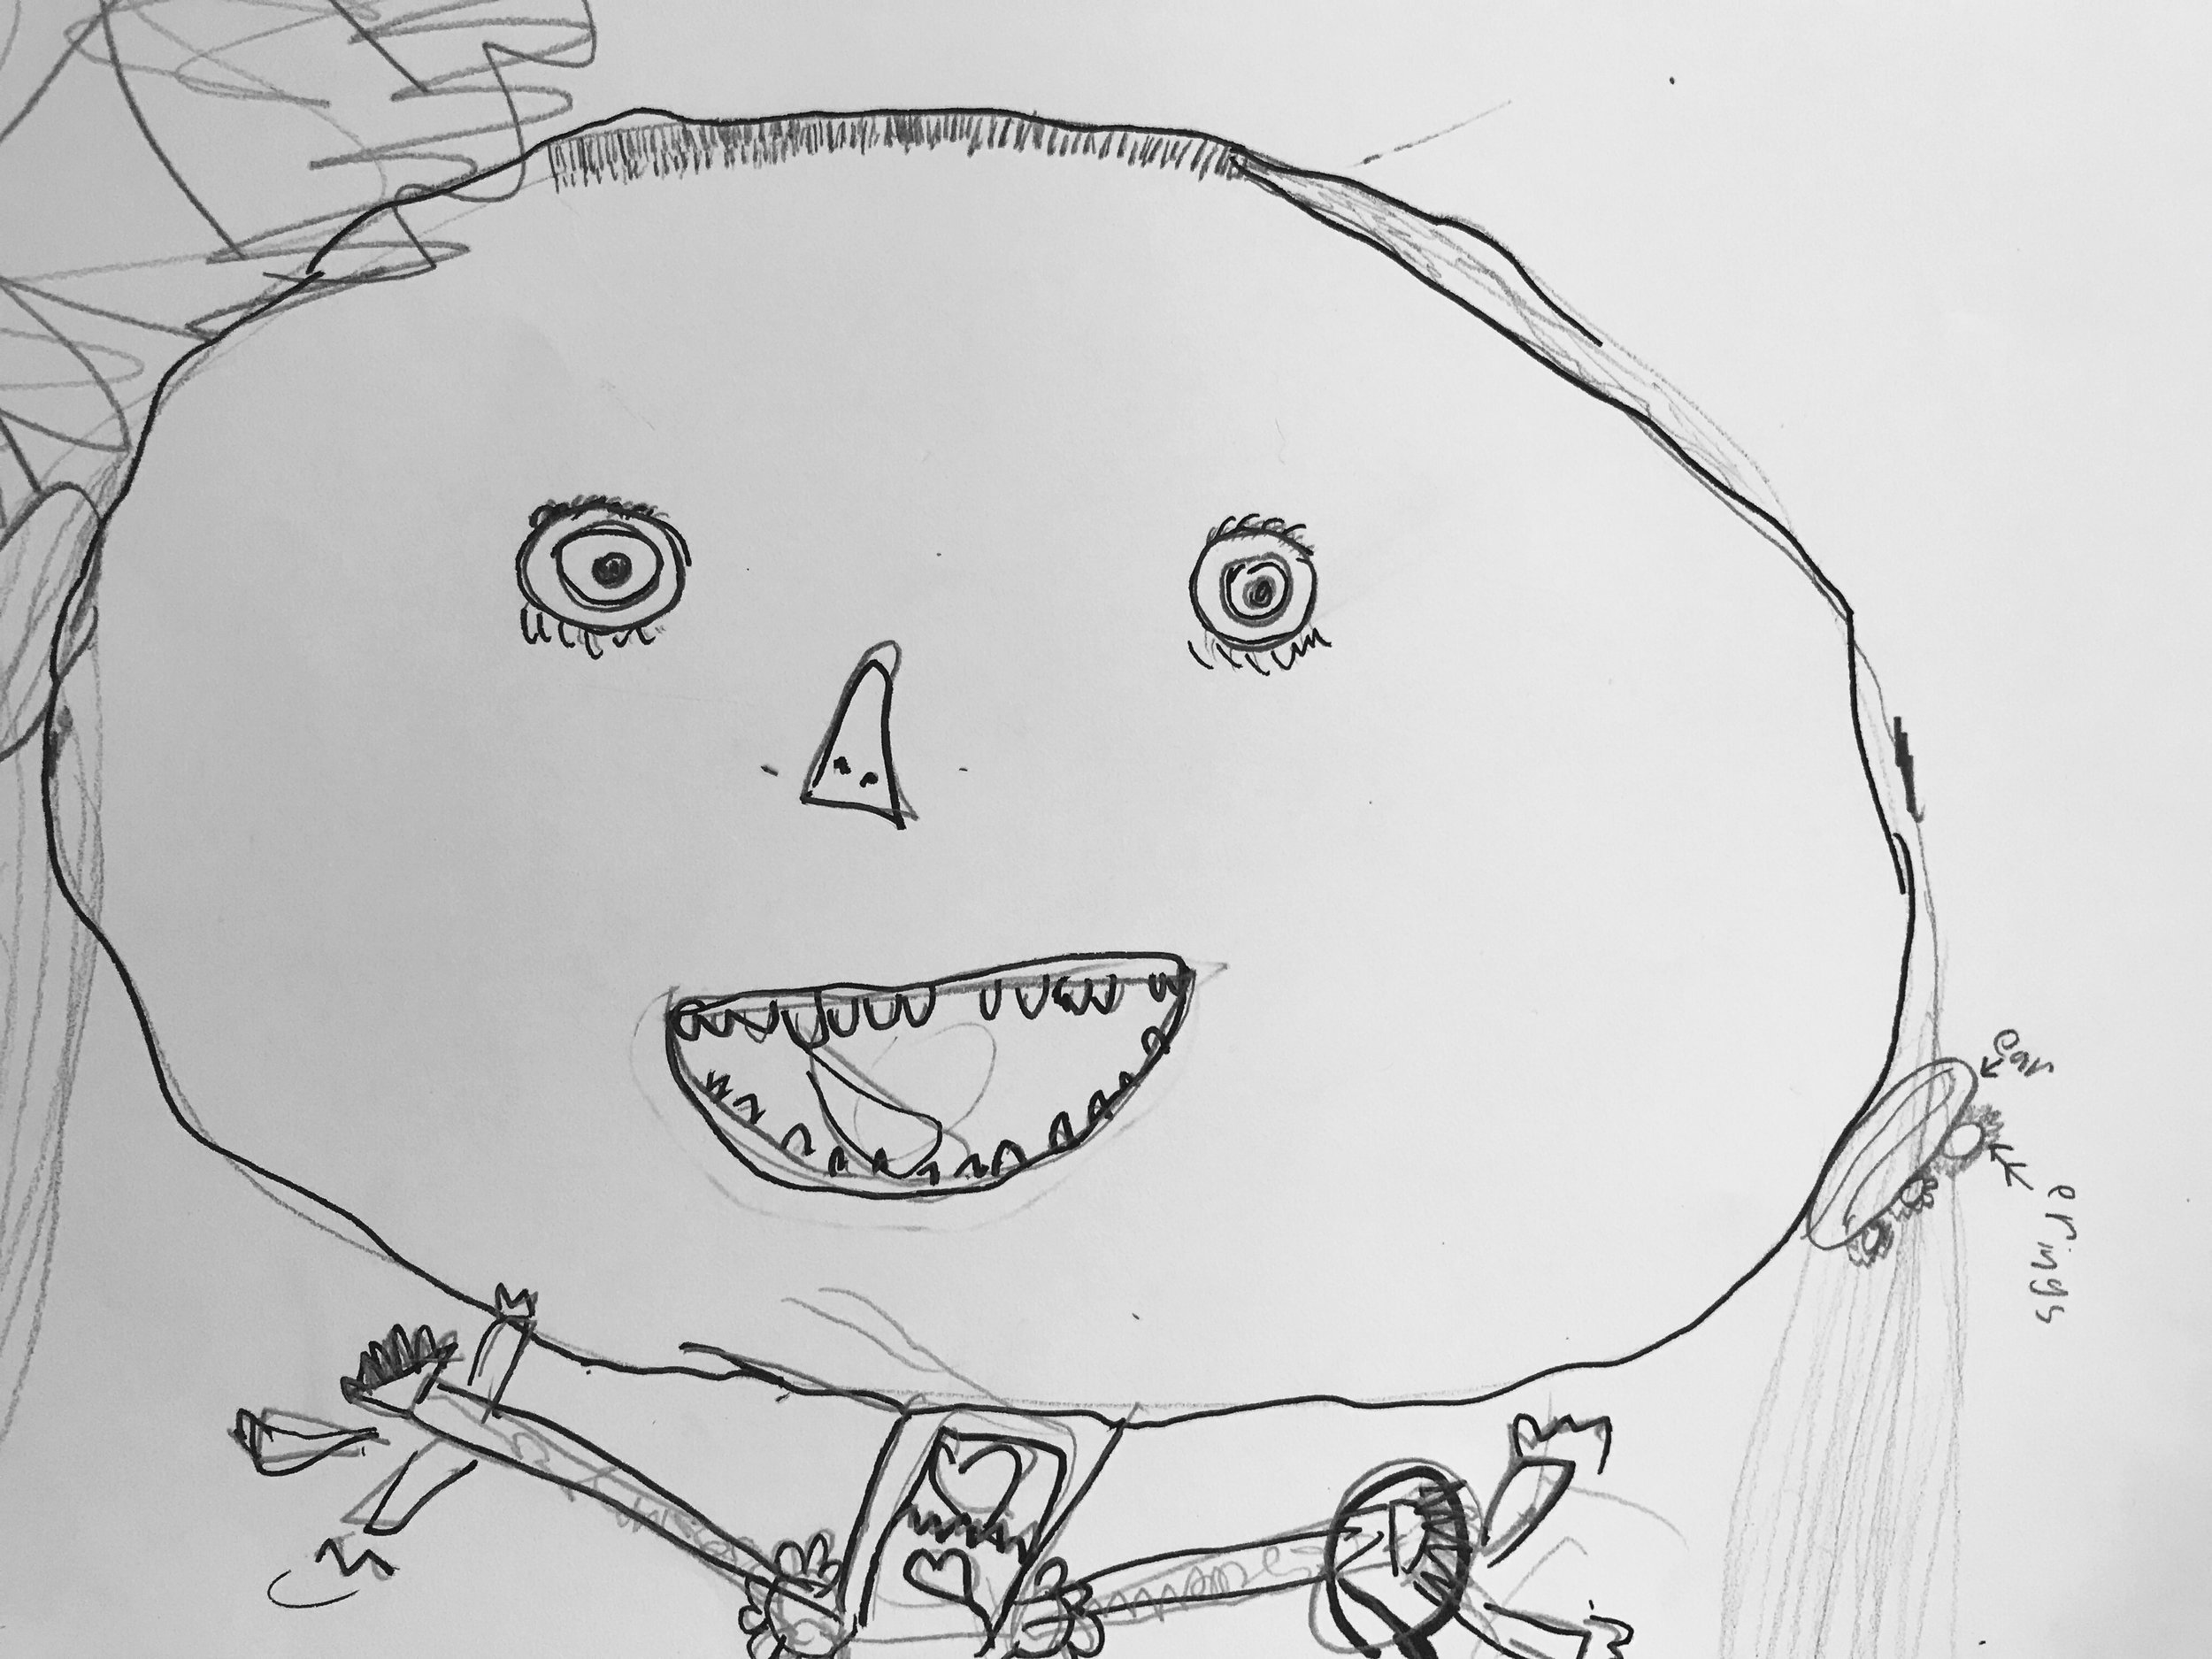
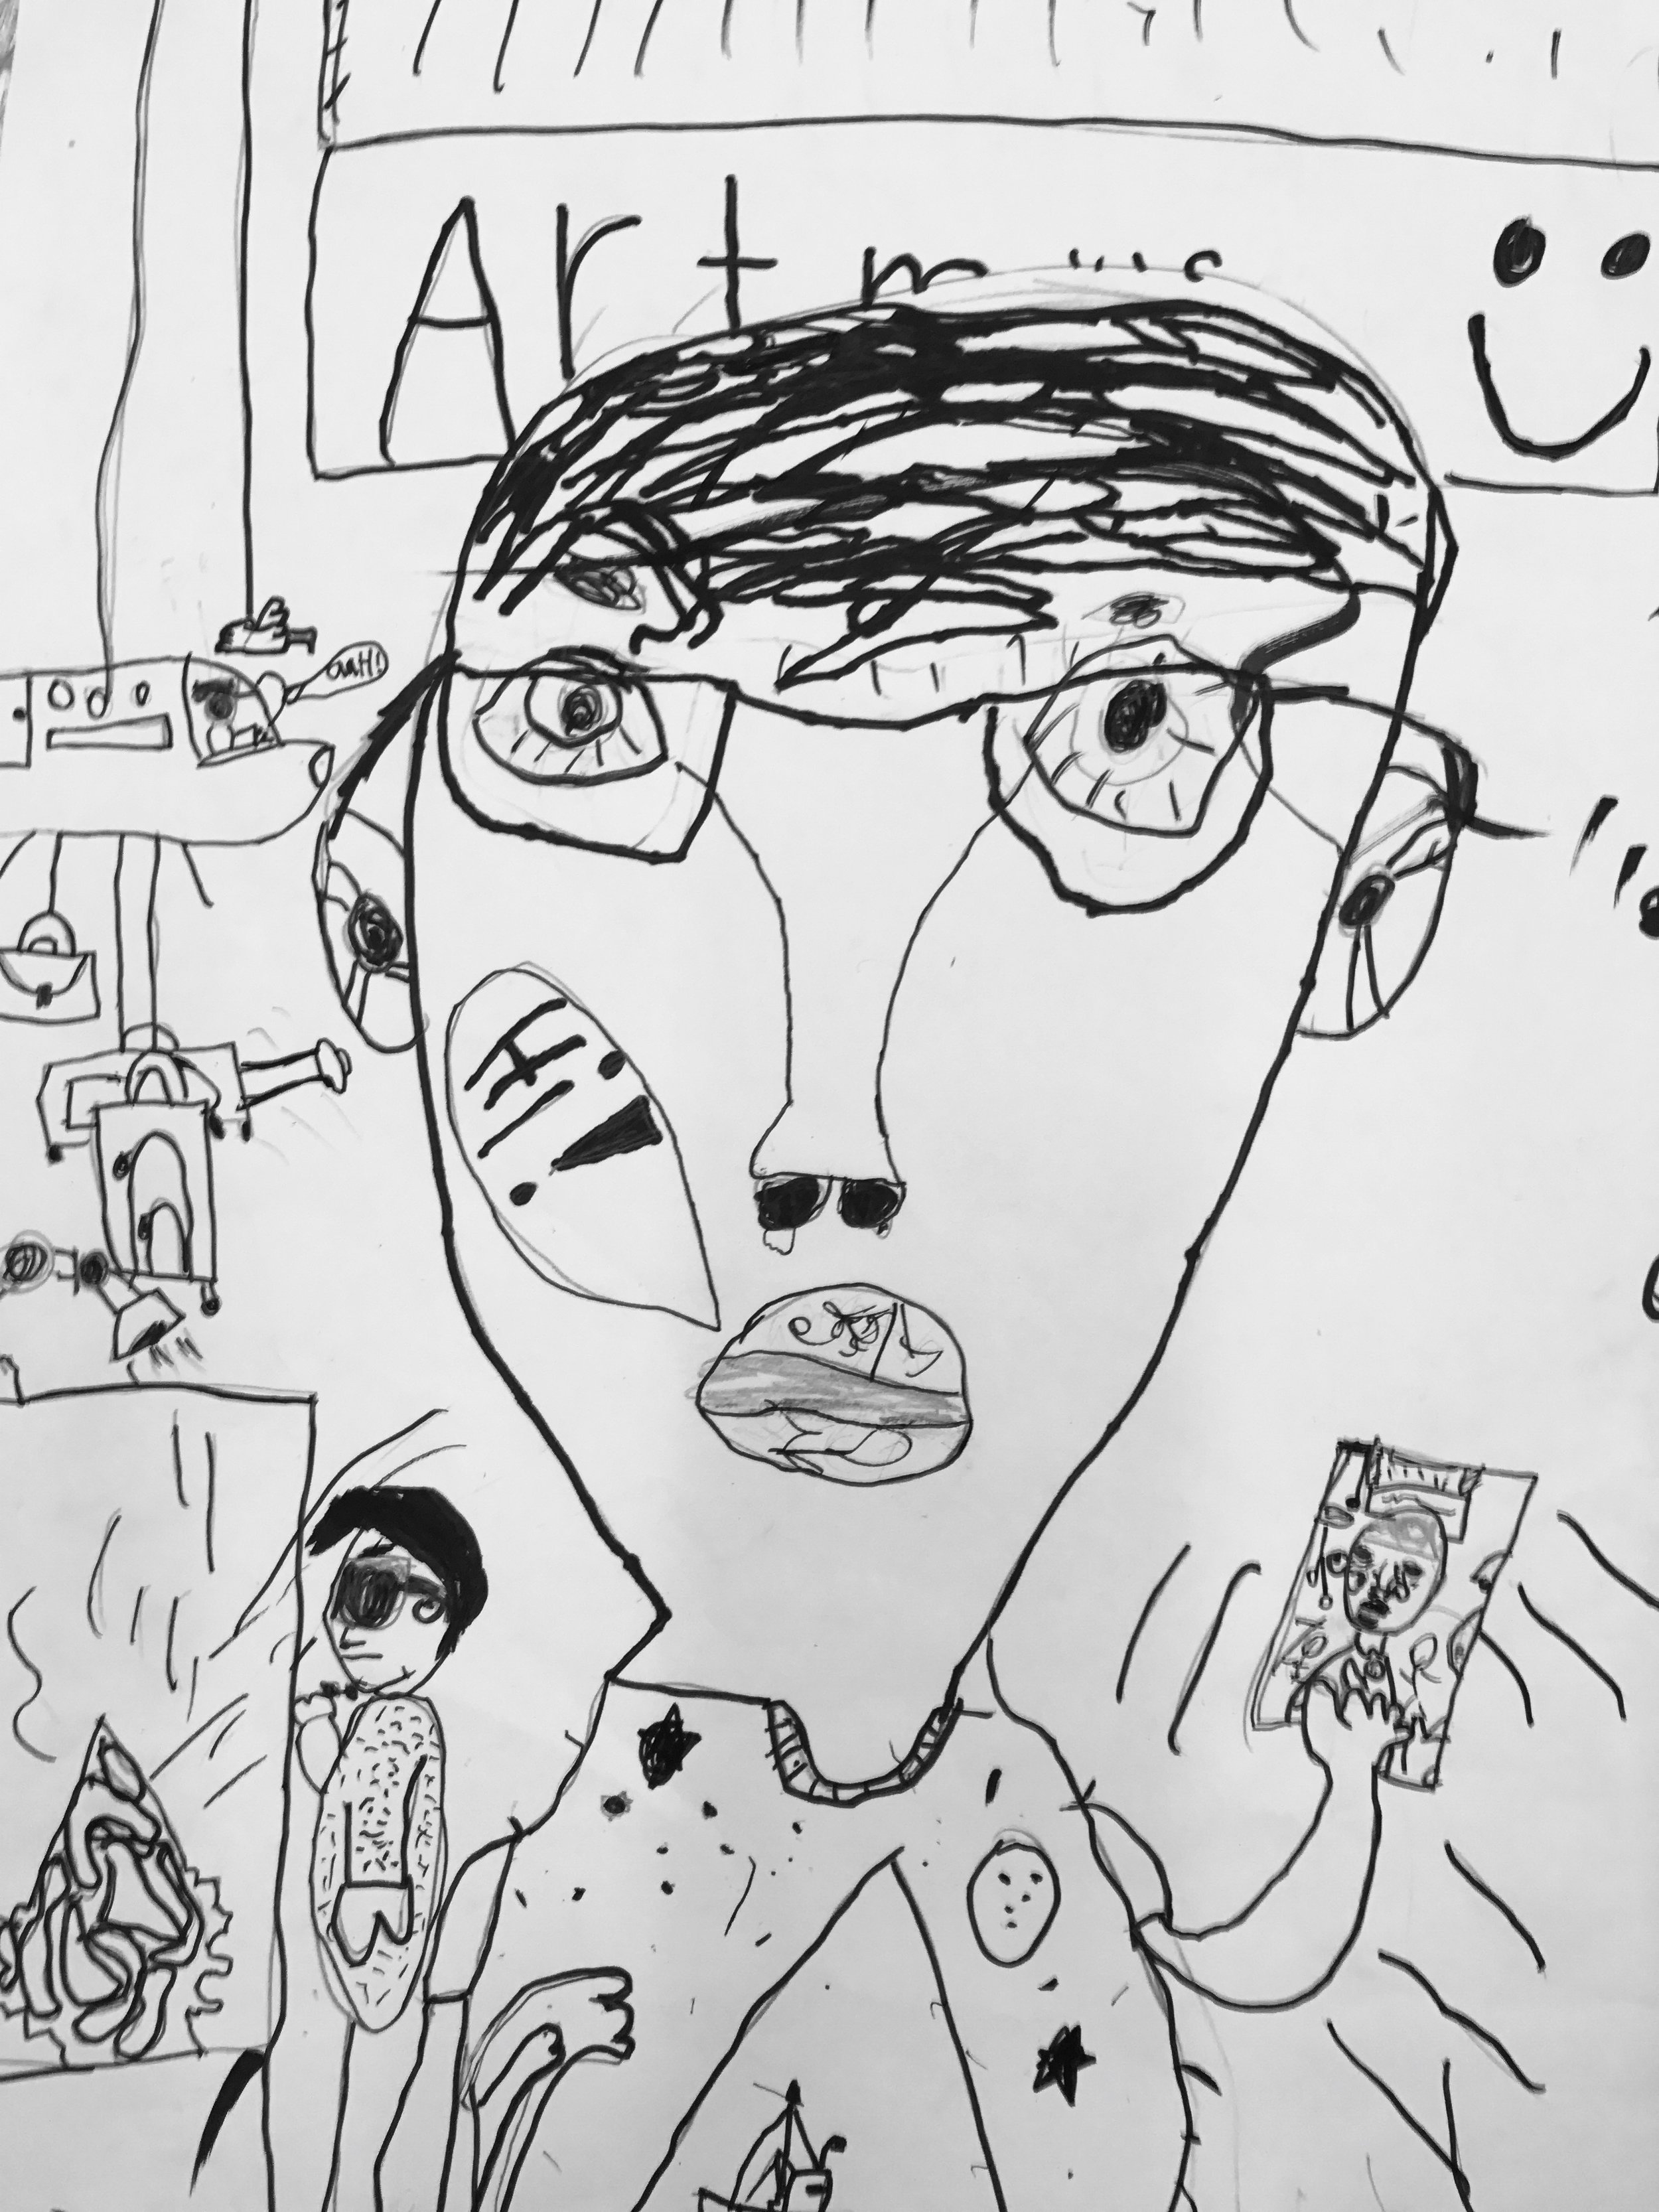
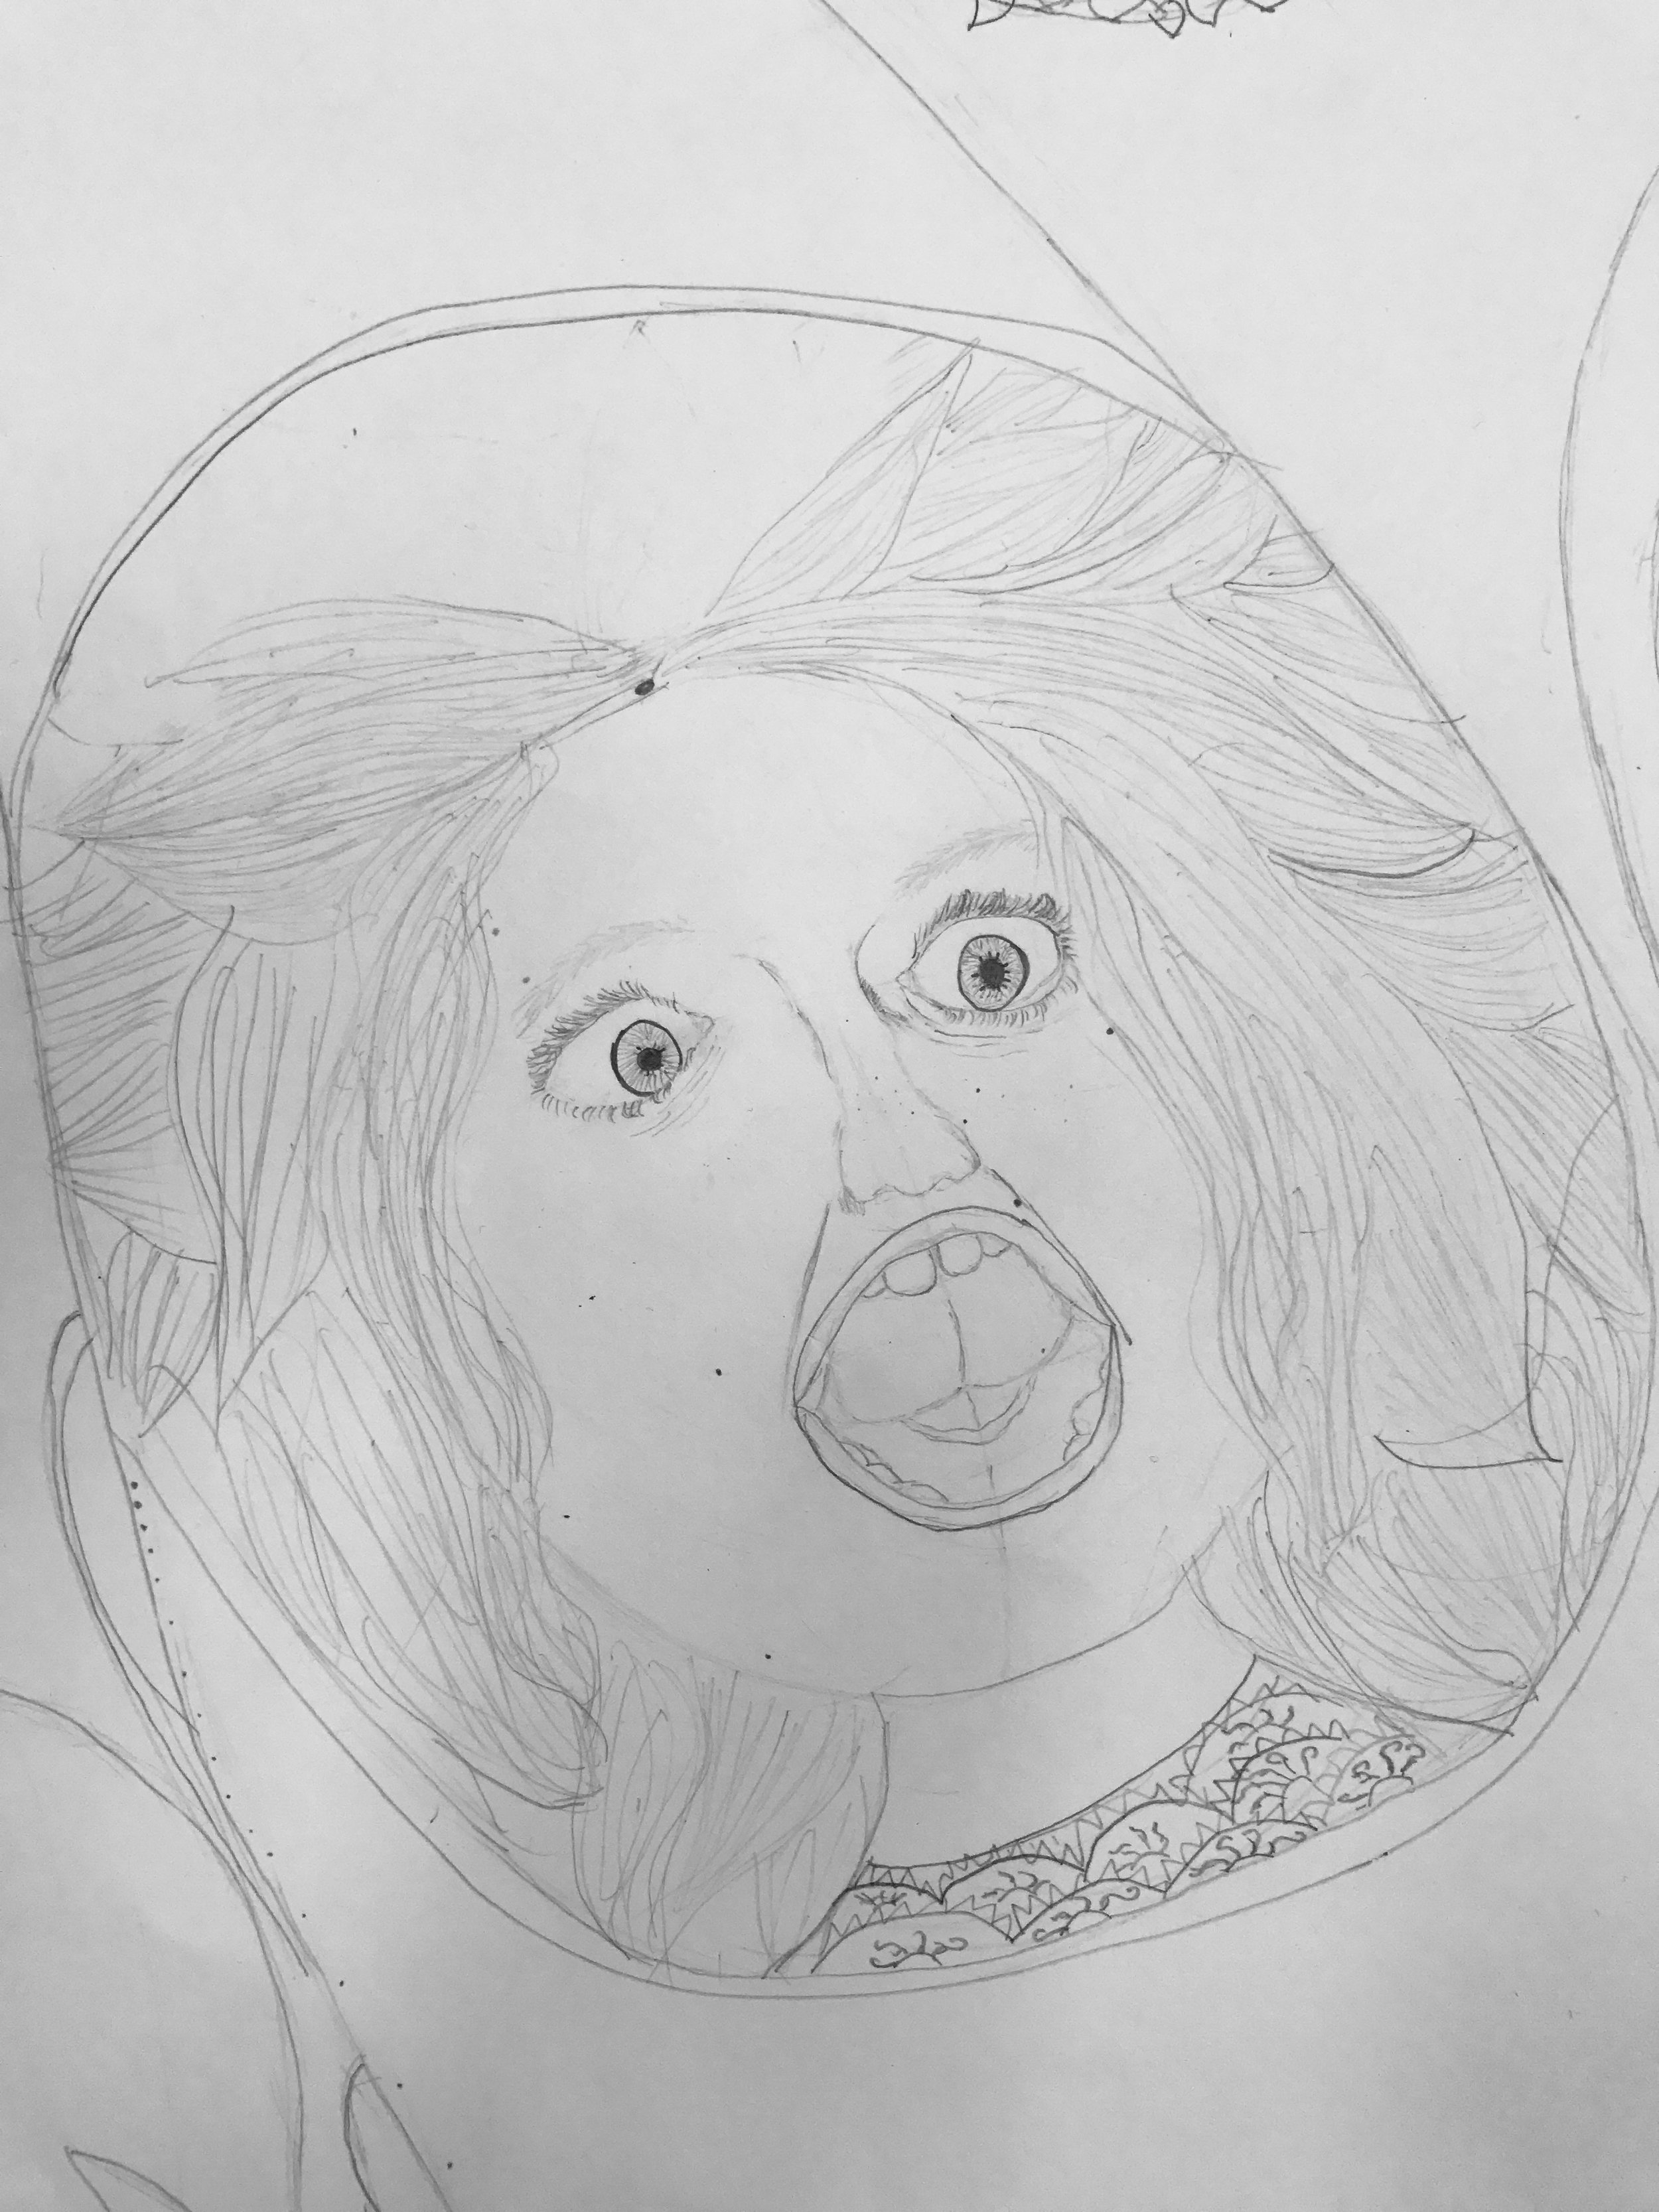
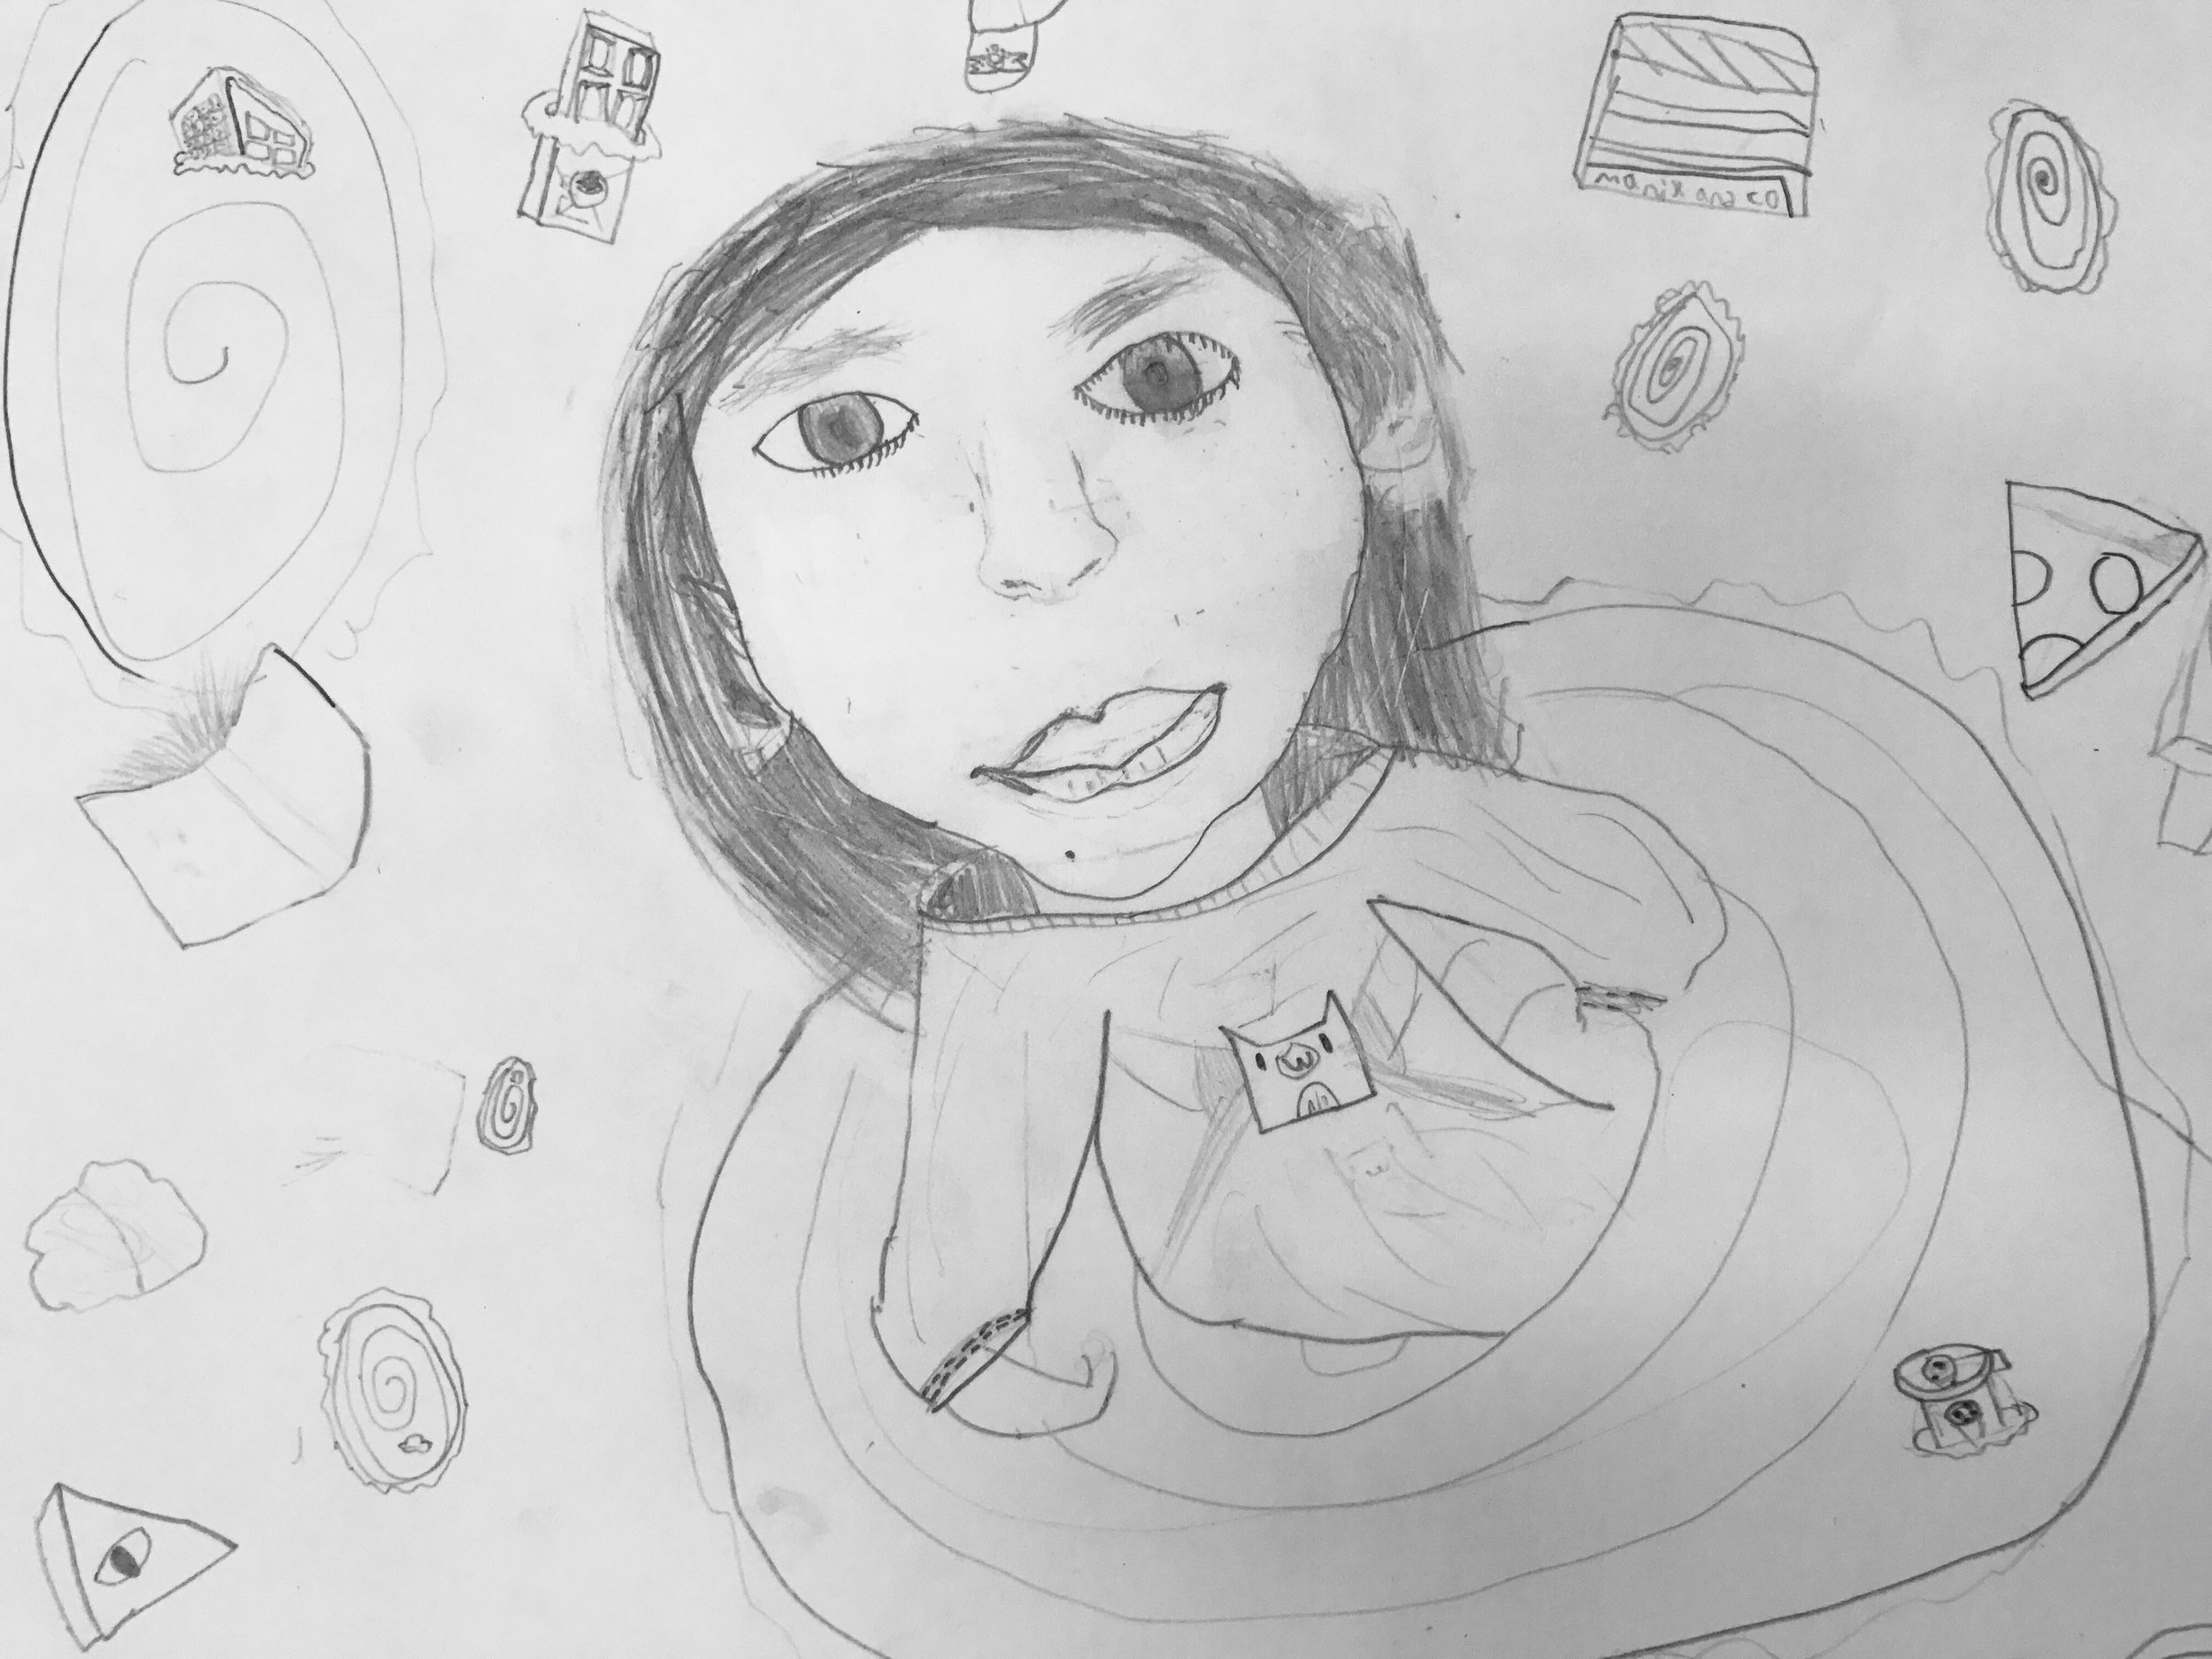
When taught well, self-portraits give our students the opportunity to draw incredible details in their own way. Finished work includes facial features made with tons of different shapes and lines, clothing with small design elements and backgrounds that tell you more about your students’ lives outside the studio. When taught poorly, self-portraits arouse our students’ artistic insecurities evident in the constant “I can’t draw a (fill in the blank with any facial feature)!” Finished work looks cartoonish, simplified, “cute”. It’s evident in this work that students are trying to make their portraits look a certain way instead of focusing on the creative challenge of drawing facial features and body parts.
So how do we teach a self-portrait lesson successfully? How do we realize the incredible potential learnings that can emerge from a self-portrait lesson?
Rule #1: Expand their observations. Simplification is your enemy.
Drawing teaches children to see, to observe beyond what they know, to slow things down. It’s important to note that these expectations are all somewhat contrary to the nature of children, which is why teaching drawing is so challenging.
During a self-portrait lesson, when I demonstrate how to draw an eye, I spend nearly five minutes of class discussing the different parts of the eye alone, a part of their body they (mistakenly) think they could draw with their eyes closed. I start this with a jolt: “If you took your eyeball out of your head, it would be a sphere.” The kids are grossed out, but they are already thinking about something that is everyday and everywhere in a new way. We continue by discussing all the details of the eye: the iris, the lids, the eyelashes along with their functions. What does an eye do? An eyelash? They rely on shared knowledge and exploration. Everyone has an idea to contribute as we create a model self-portrait TOGETHER.
Rule #2: Focus on what, not how.
I’m careful NEVER to talk about how to draw features, only what details we should include. They’re given mirrors, encouraged to look at one another’s eyes. The eye is not just a circle, not just a circle with a black dot in the middle, not just a circle with a black dot in the middle and eyelashes. They see it for all its parts and complexities.
Once they have understood that what they thought they would draw—a simple circle with a dot—was so much more complex than their previous understanding of it, they engage in the act of seeing and noticing, and carry that through to other parts of the drawing. They look for things that have been unseen.
Rule #3: Celebrate the weird.
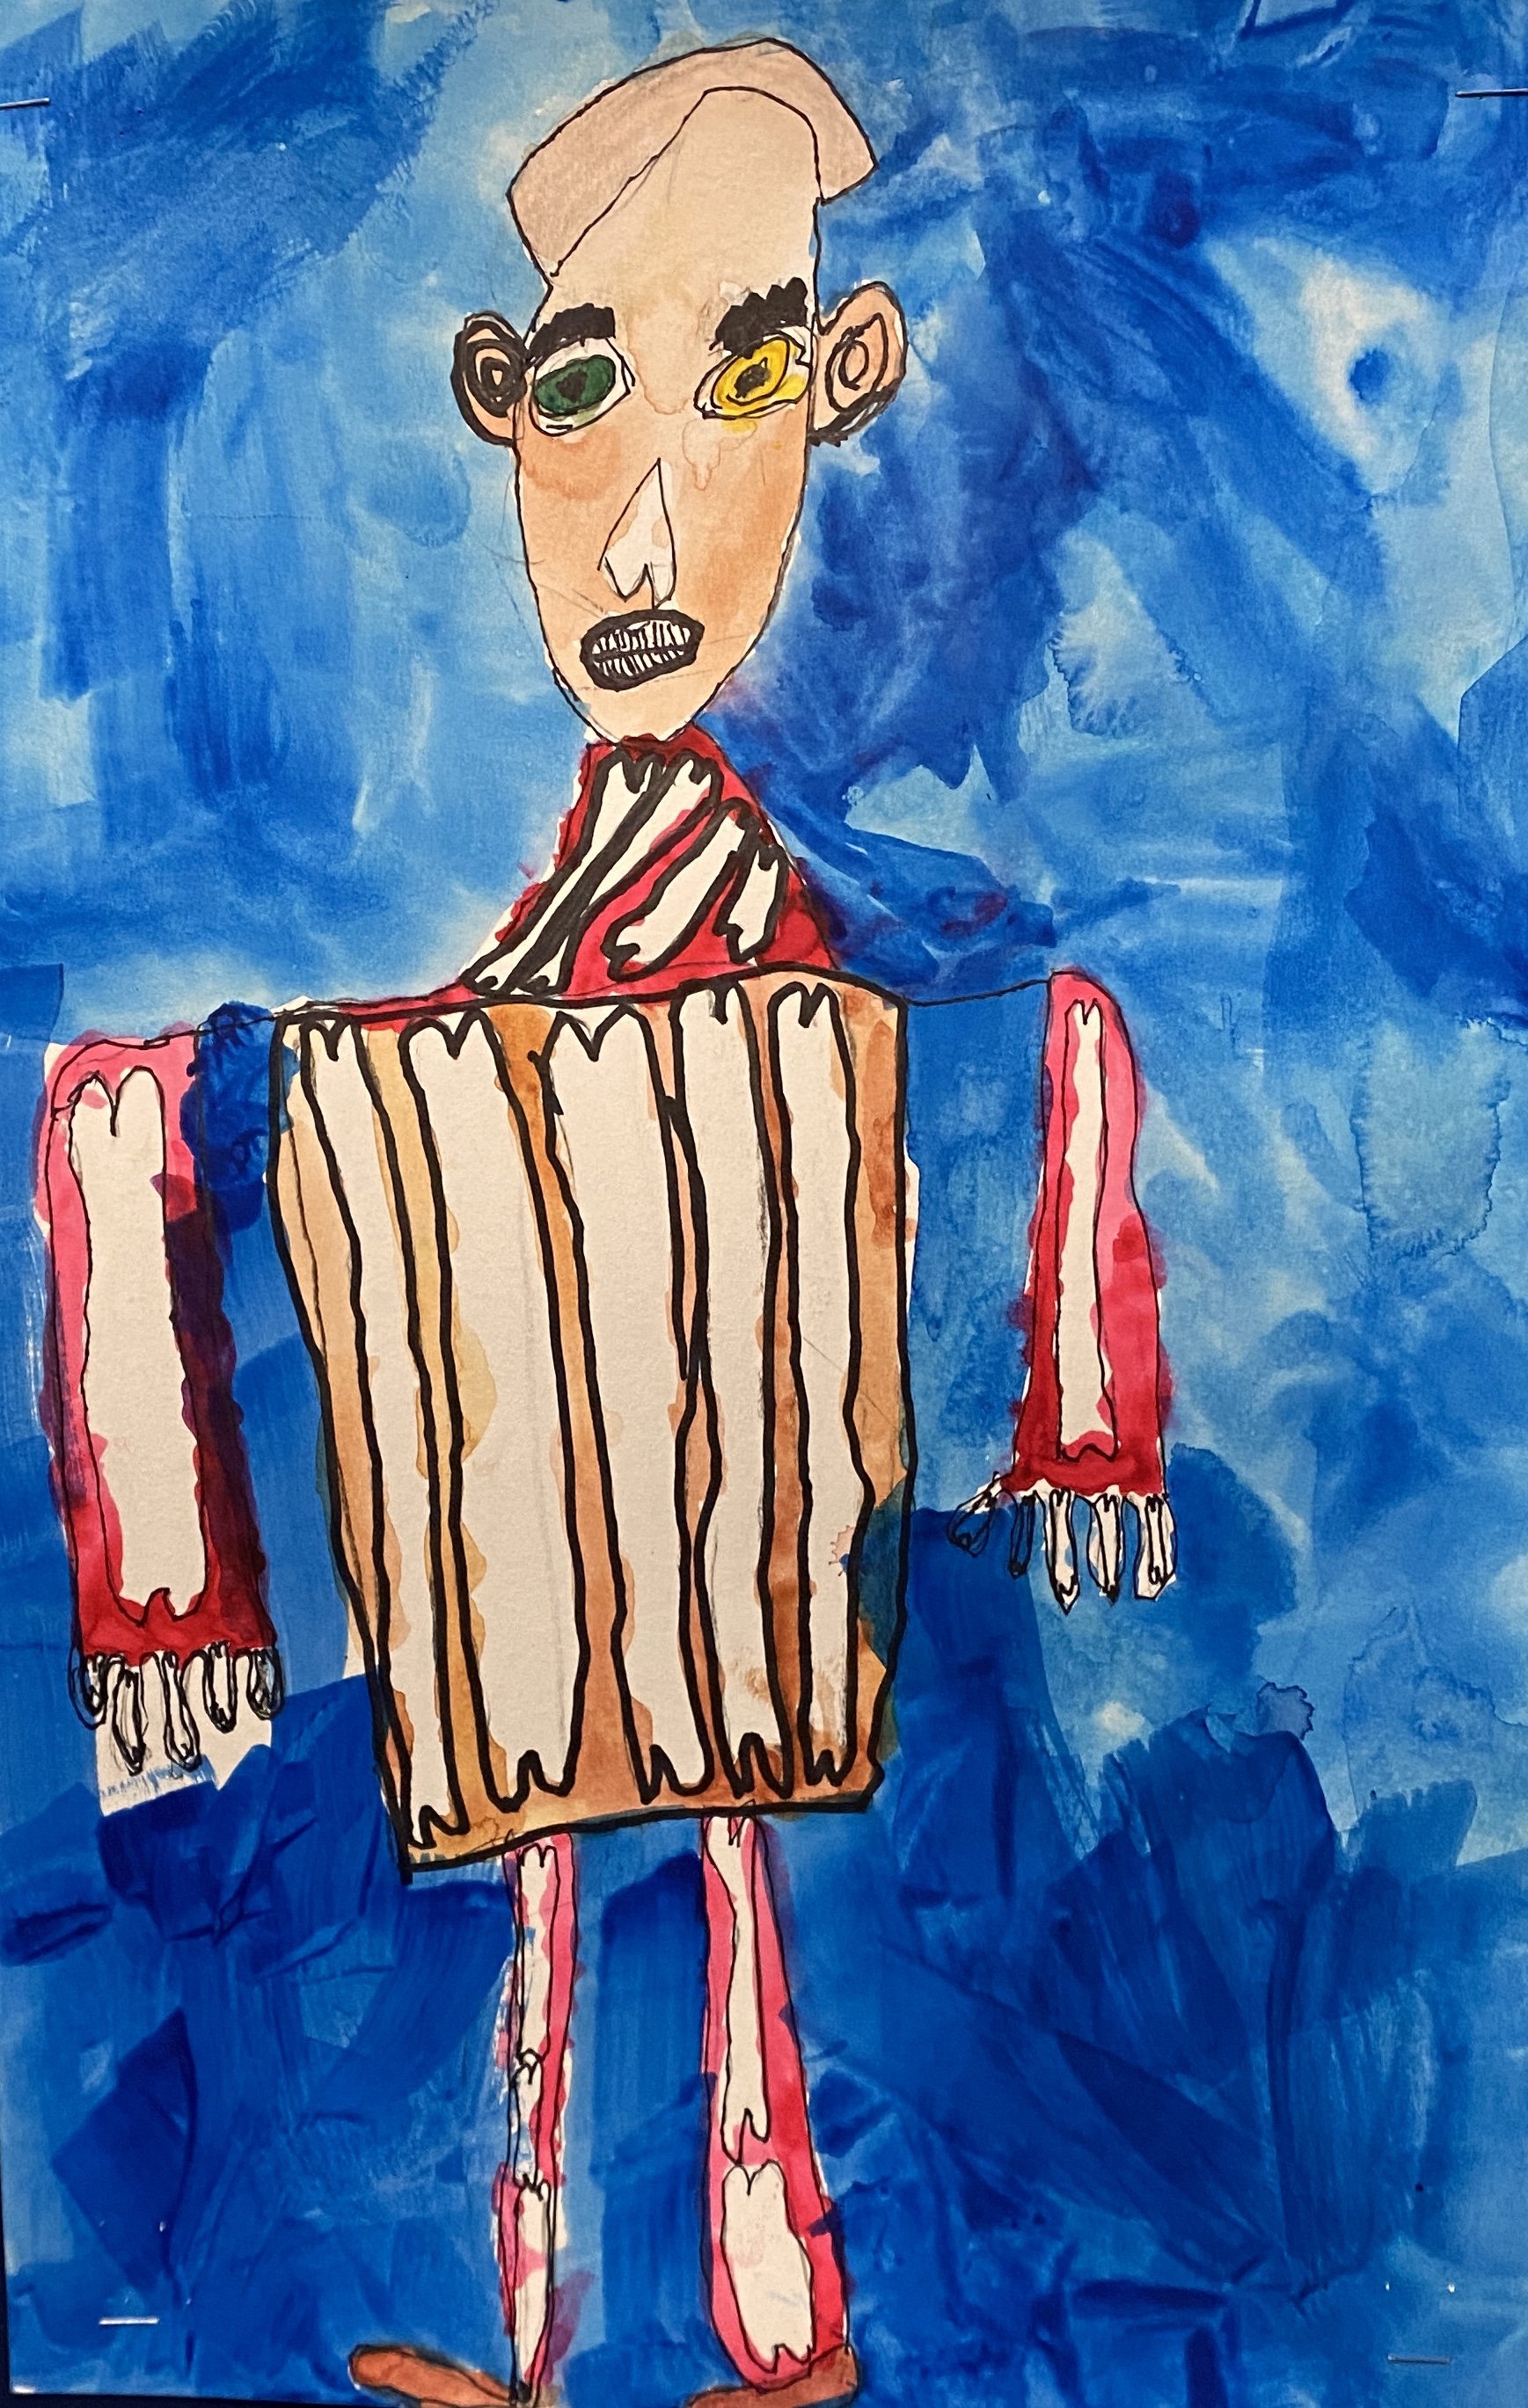
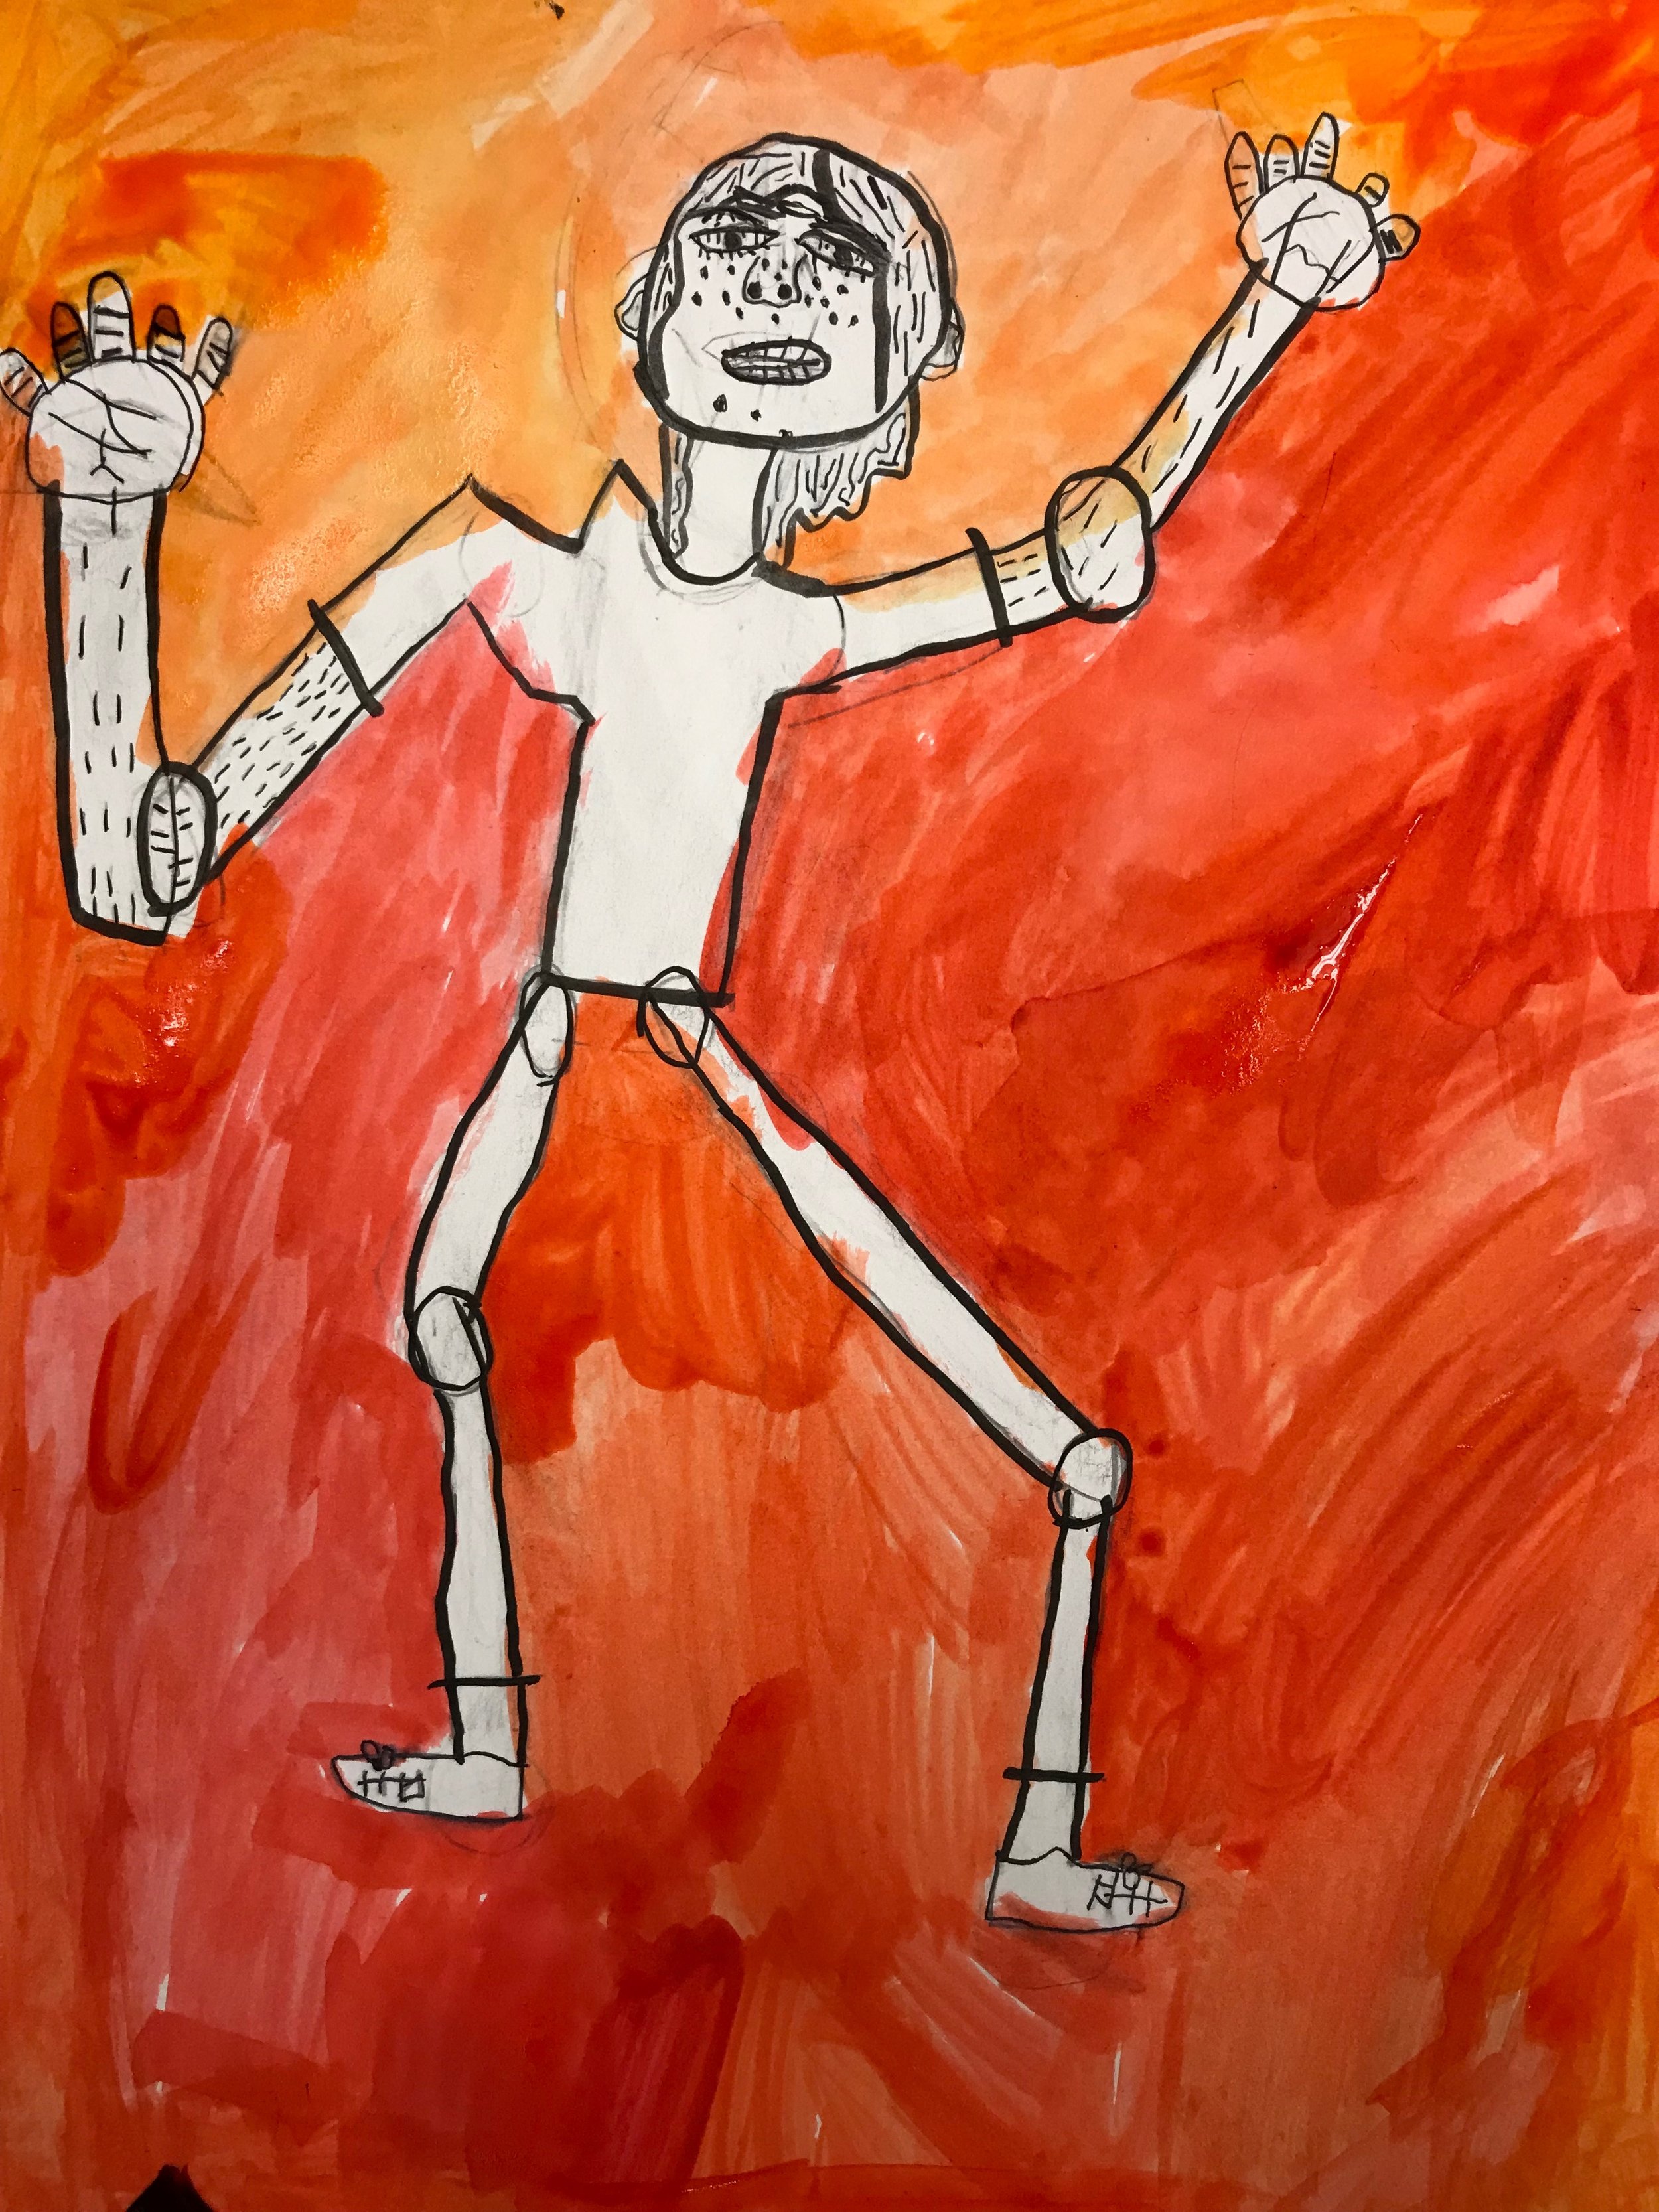
The results of successful self-portrait teaching are here. They are bizarre, they are imperfect. They are diverse. They are replacing assumptions about the commonplace with observations that are rich and yes, sometimes bizarre. They are evidence of thoughtful and unique perspectives from young artists from 5-8 years old.
As your students work, encourage them by “noticing” the weird. “I see that Hazel added lines around her eyes to show wrinkles.” “I noticed Jacob added bumps on his tongue to show his taste buds.” “I noticed Jenna has one eye bigger than the other.” This tells me that you are really looking at your faces because we, as humans, are imperfect and asymmetrical. Teach them those words and more importantly teach them the value in imperfection and asymmetry.
But, I can’t!
At the start, this approach may be new and once your students truly understand the complexity of their faces, you may begin to hear a lot of “But I don’t know how to draw an eye!” or “I can’t draw it like that (pointing at yours)!” If your modelling is effective, you will not hear this at all or only hear it from a couple of students. You should respond by re-focusing on what the eye (or whatever feature) is made of while simultaneously encouraging a lack of perfection and a unique approach.
It may sound like this: “What’s one shape that makes your eye?” “A circle.” “Ok, so start with a circle...it can be a creative circle that’s not perfect.” “But I want to make it like you did,” they may say. “You are your own artist. That’s the way I draw an eye but I want to see how YOU draw an eye so I can see how creative you are.” Then walk away and let the learning happen. Don’t put too much energy into instructing how to draw specific features. Let them learn through doing by offering conversation that inspires rather than instructs.
Mirror or no mirror? That is the question.
Drawing isn’t only about engaging our powers of observation. Drawing is also about activating the imagination and being inventors, about that kind of seeing. At Scribble, we call this “imaginational” drawing. (We maybe made this word up. We’re artists, remember? We do things like that.)
Drawing lessons should also have ways to access what children see beyond literal observation. Teachers shouldn’t forget about the vivid imaginary lives of children; how do we extract those imaginations onto the page? This, too, relies on observation, even if it’s imaginative; it uses their innate internal resources rather than an external one.
All muscles are important to exercise.
So as the subtitle of this section suggests, you don’t need to use mirrors for your lesson. I didn’t with all the portraits attached to this post. The details came from their minds, observing others and their hands (they felt their faces!). Approach the child who doesn’t know what to add without the guide of a mirror like this: “What does your portrait need to survive?” A face needs a nose to breath, ears to hear, hands need fingers to pick things up and on and on. By meeting children logically, concretely, they are able to more easily access their imagination.
Let us know how it’s going. Post pics and stories of your own self-portrait teaching journey!
